Learn how to make the perfect Curd (Indian Yogurt) recipe at home, also known as Dahi, using the traditional method of curd preparation using milk and curd culture with a few simple steps.
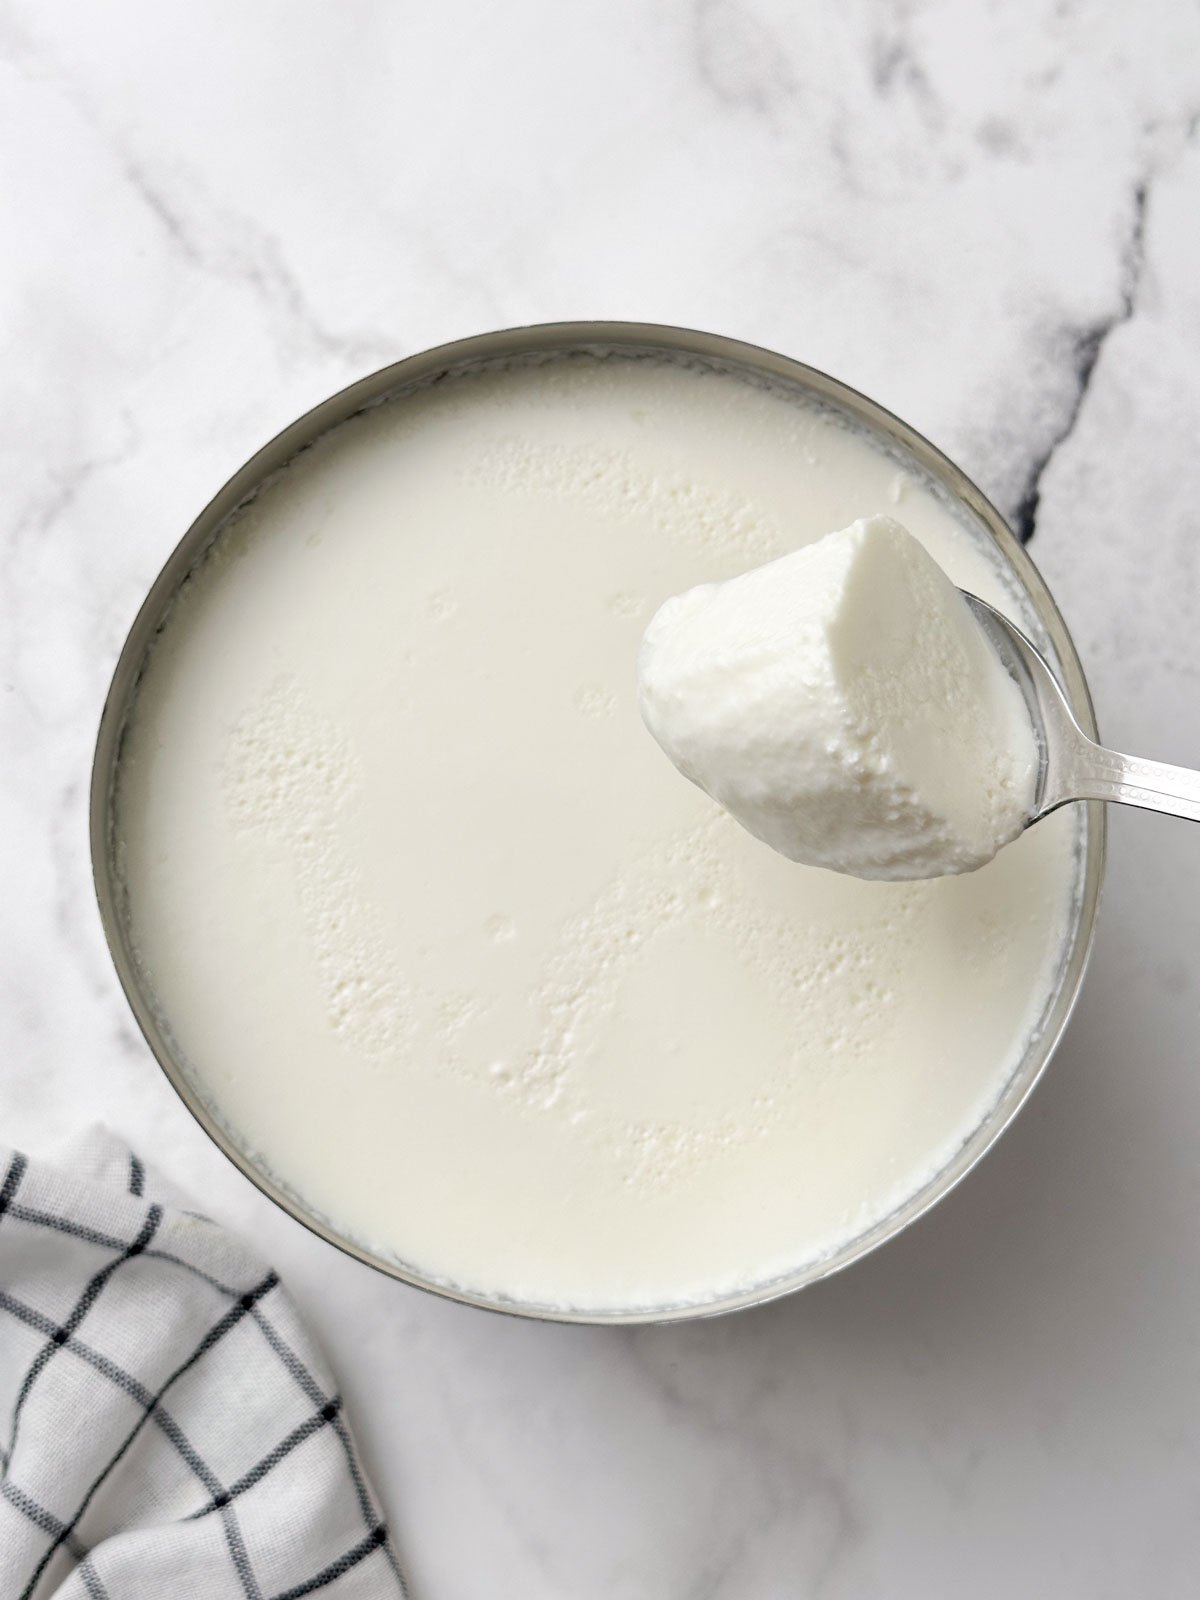
Yogurt (or dahi) is one of the most nutritious foods dieters swear by. It is high in calcium, vitamins, probiotics, and other vital minerals, making it a popular food for health.
The best part? It can be used to make a variety of dishes like curd rice, dahi tadka, paneer tikka, yogurt dipping sauce, mango lassi, curd sandwich, shrikhand, and more, and the list is never-ending. If you love having healthy food with a delectable twist, this ingredient can be a great addition to your diet. But first, let us introduce you to the yogurt, or as Indians lovingly call it, “dahi”.
Jump to:
What Is Yogurt?
Yogurt, also known as yoghurt, is a dairy product made by fermenting milk with live cultures (beneficial bacteria). This gives it its distinctively sour flavor and creamy texture. It can be enjoyed as a side dish or used in various recipes.
While cow's milk is the most popular variety, yogurt can also be made from goat, ewe, sheep, or buffalo milk.
Is Curd the same as Yogurt?
Curd and yogurt are two very different things. Curd is made by curdling the milk with edible acidic substances such as lemon juice or vinegar, whereas Yogurt is made by fermenting milk using bacteria.
In India, curd is often used for yogurt, so if any Indian recipe says curd, you can use yogurt instead.
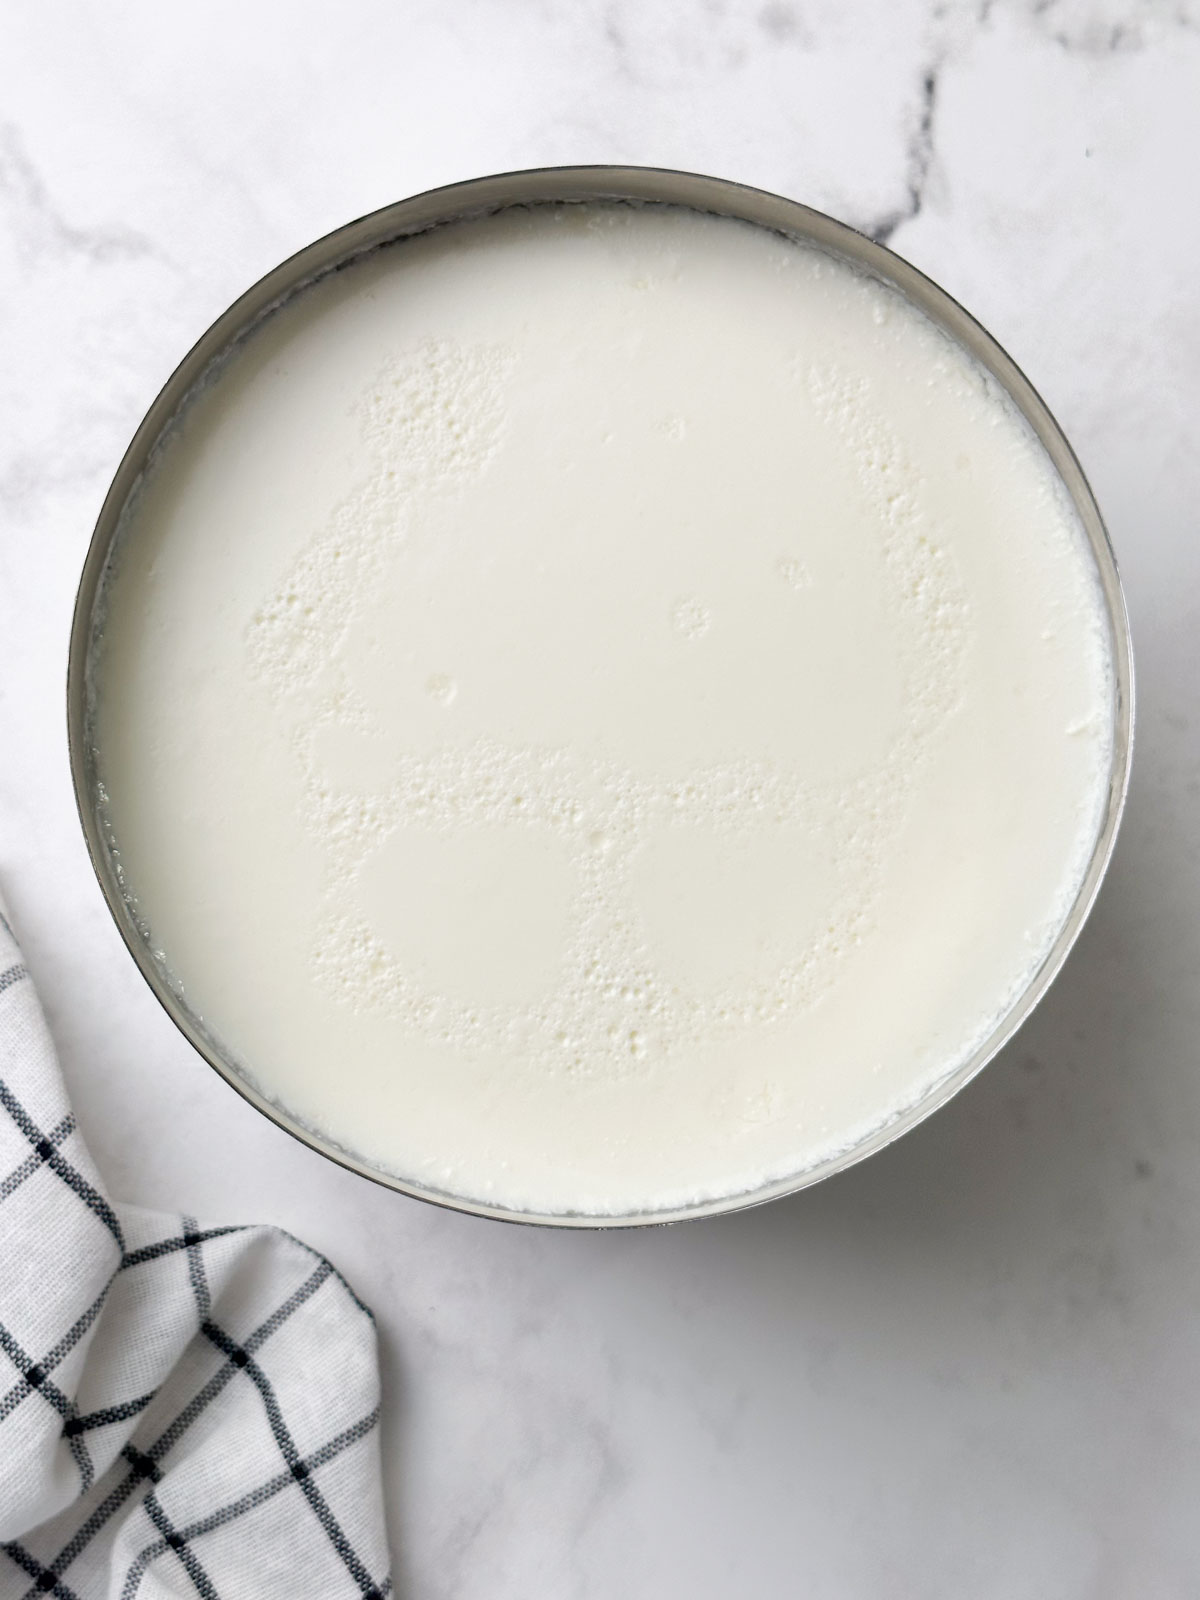
Health Benefits Of Yogurt
- Yogurt aids in easing the symptoms of inflammatory bowel diseases and irritable bowel syndrome.
- While following a plan to lose weight, low-fat yogurt can be a good source of protein. Probiotics strengthen the immune system.
- Regardless of its fat level, Yogurt seems to improve HDL (good) cholesterol and lower blood pressure, which are healthy for the heart.
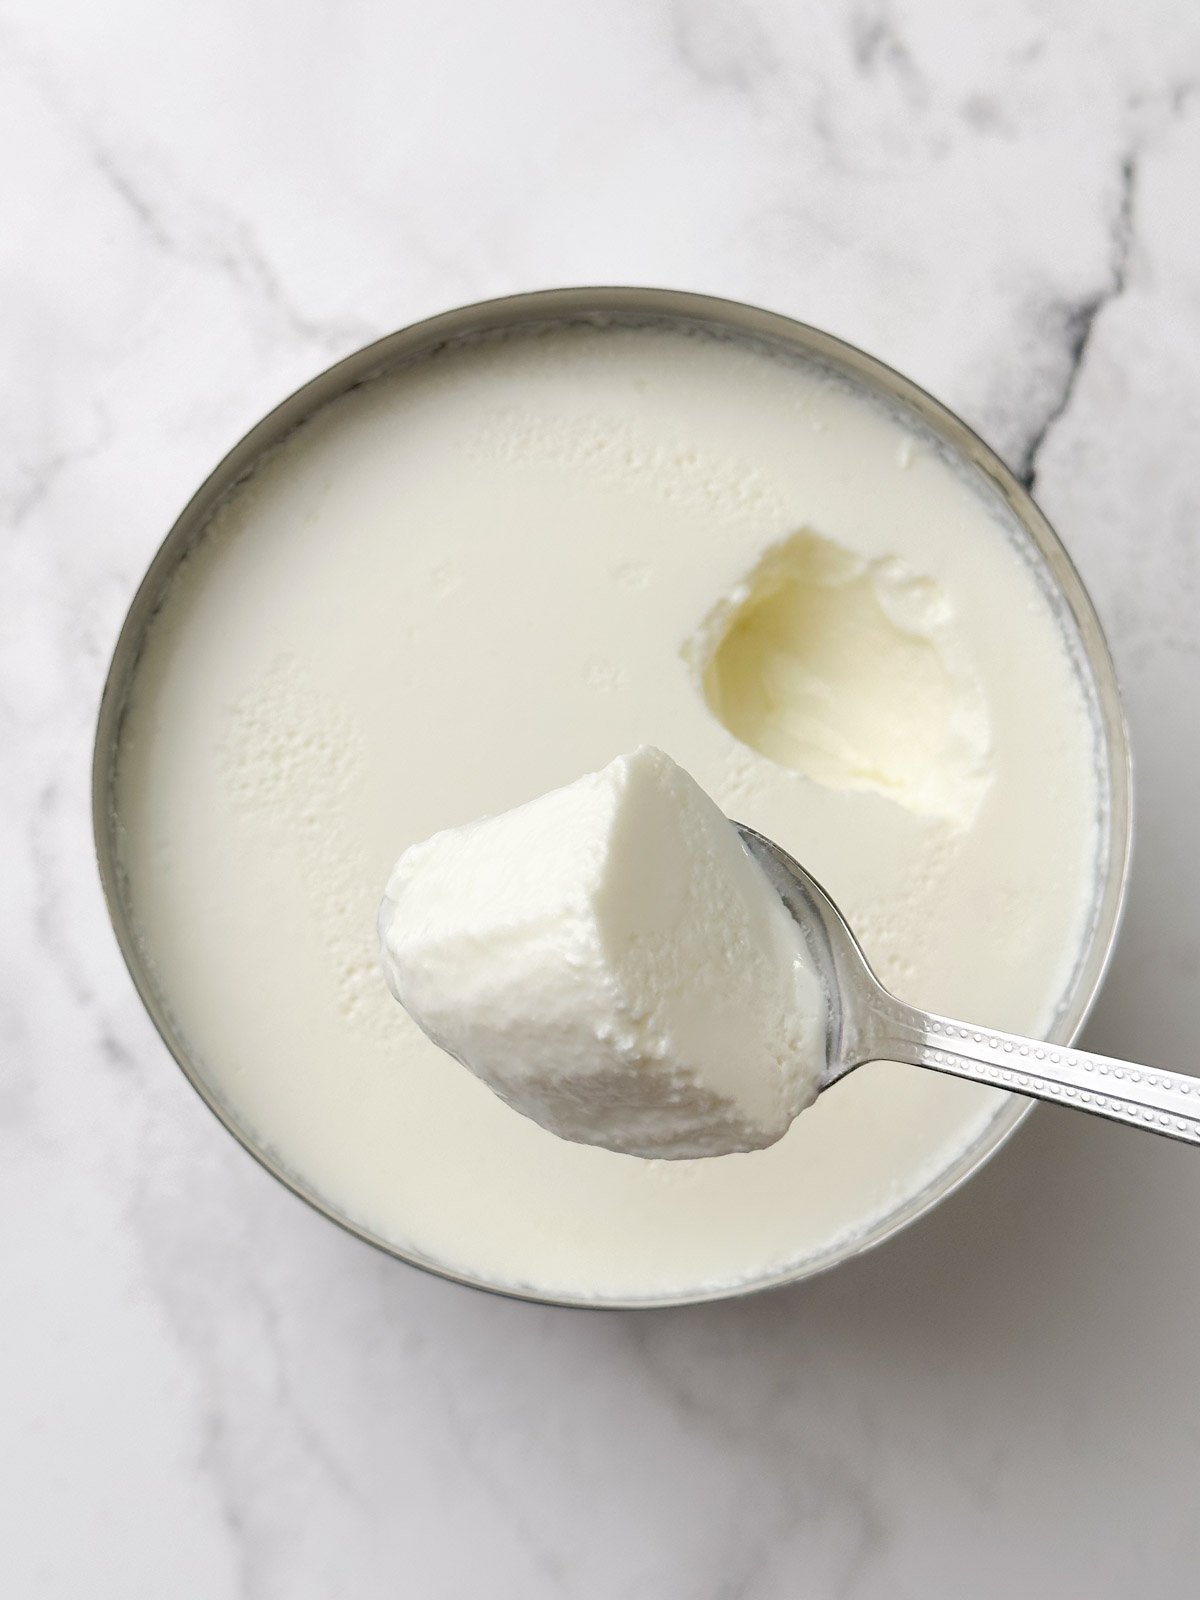
How To Make Curd Recipe (Indian Yogurt or Dahi)
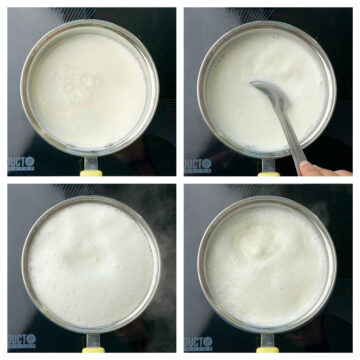
To begin making yogurt, rinse a heavy-bottomed saucepan. Rinsing the pan keeps the milk from scorching and sticking to the bottom of the pan.
Pour 4 cups of whole milk into the pan and heat it on medium heat until the milk comes to a boil. Note: Boiling the milk helps kill bacteria and improves the texture of the curd.
If you don't like cream on the yogurt, keep stirring occasionally to reduce the formation of cream on the milk.
Once the milk comes to a boil, reduce the heat to low and simmer for another 5-8 minutes for a thicker yogurt.
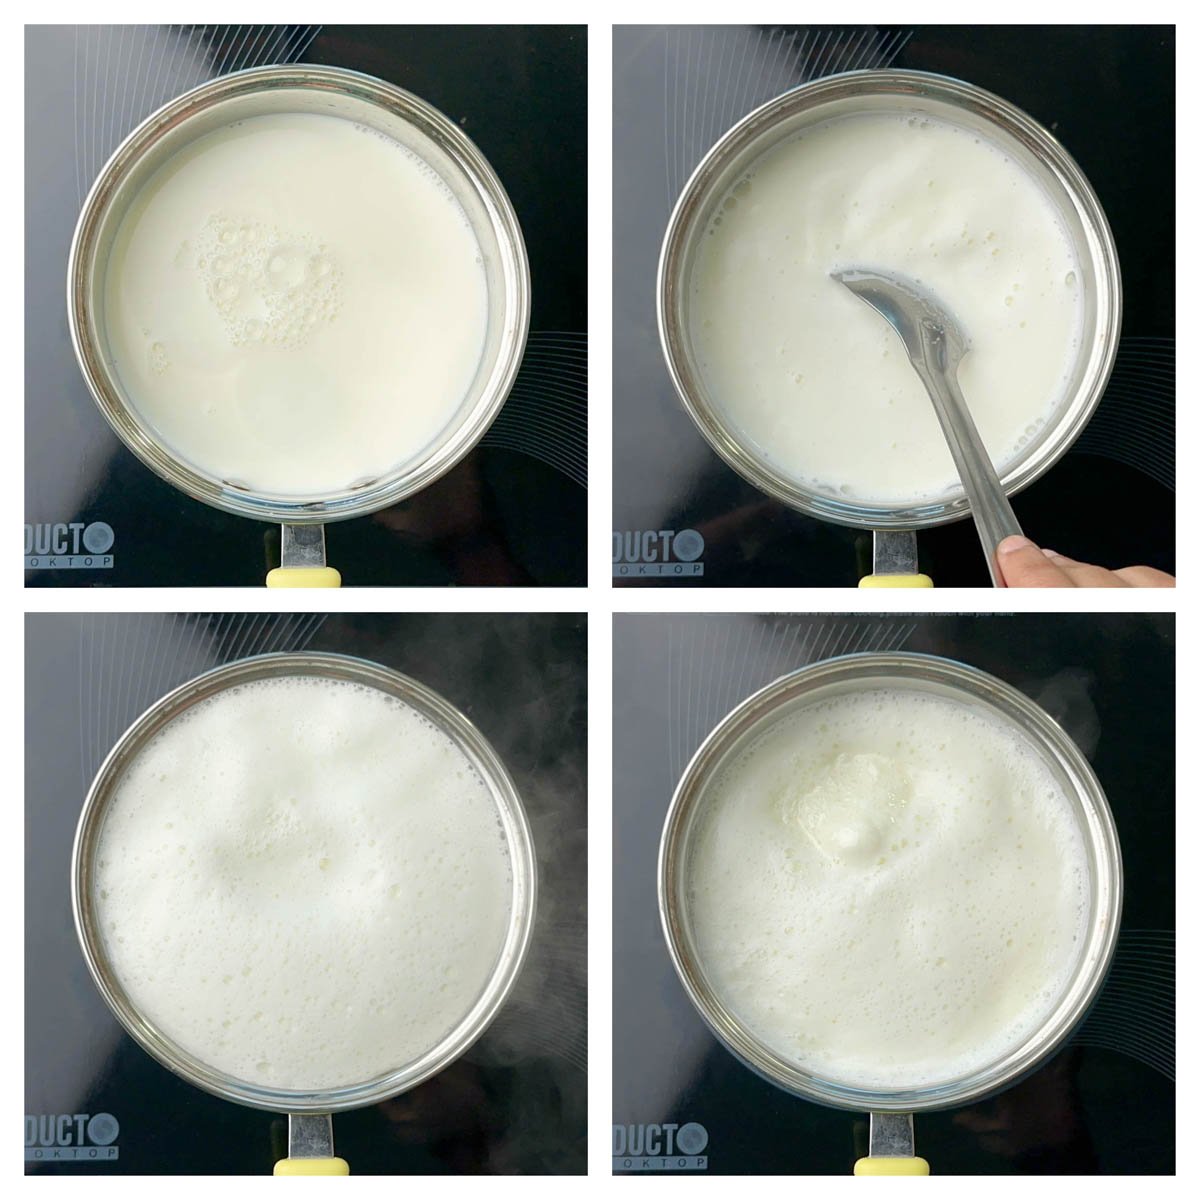
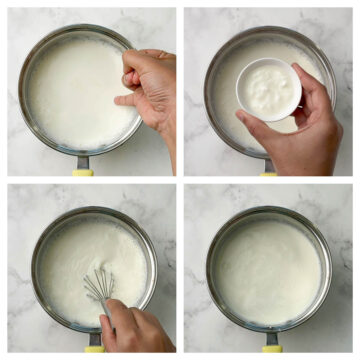
Take the pan off the heat and set it aside. Let it cool down until it feels lukewarm. The easiest way to check milk is to dip your finger into it; it should feel cozy, warm, and never hot.
Add 1 tablespoon of yogurt (with active culture) to the lukewarm milk. Whisk or stir well until you have thoroughly blended the culture with the milk.
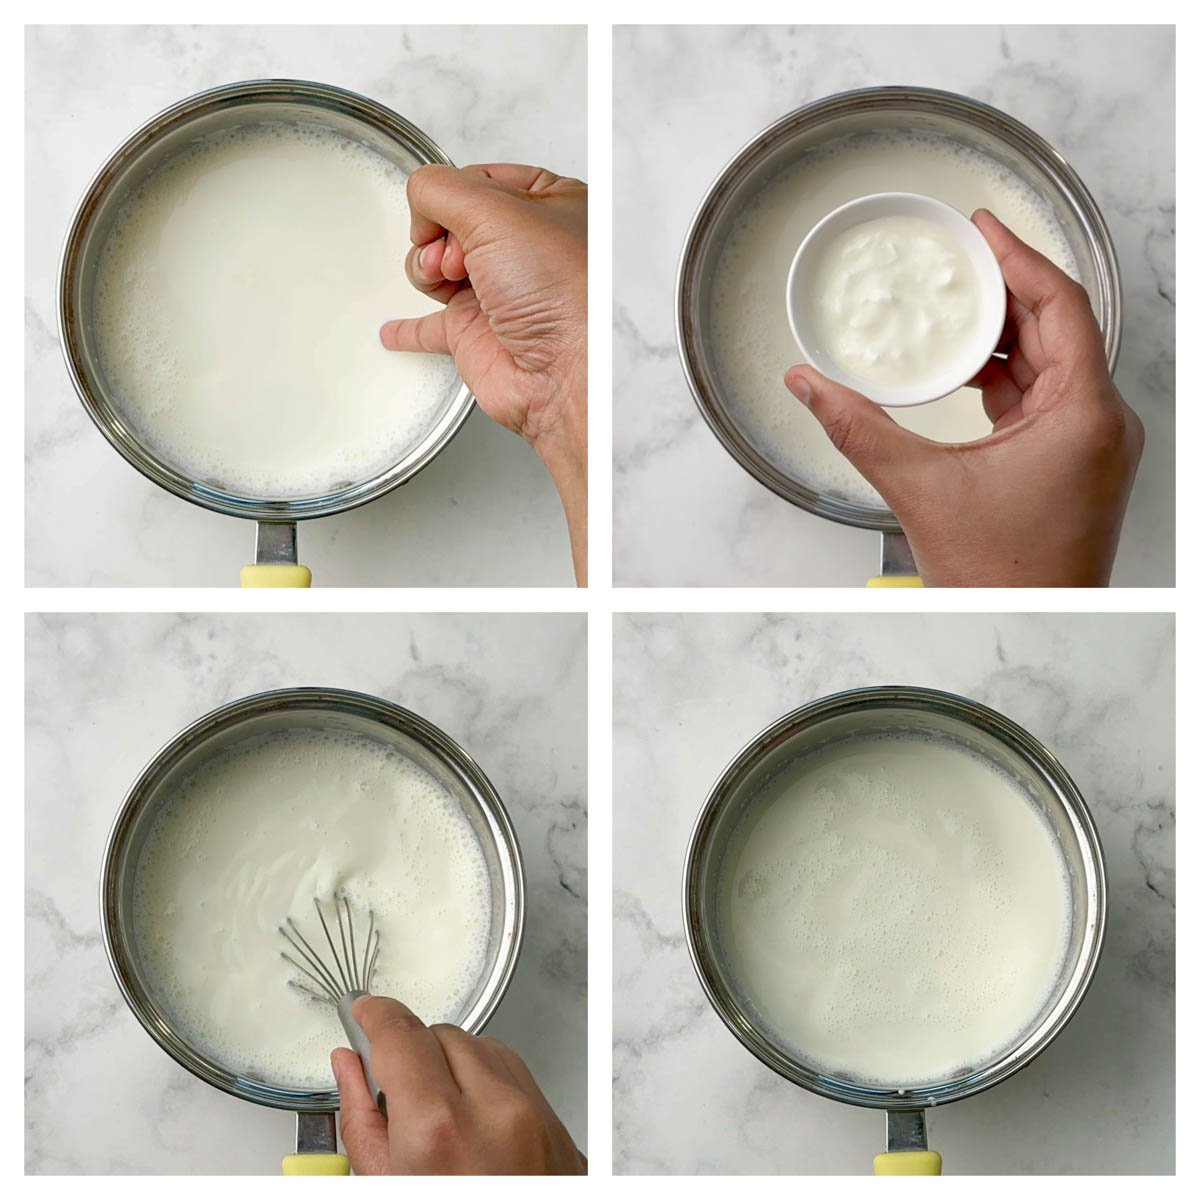
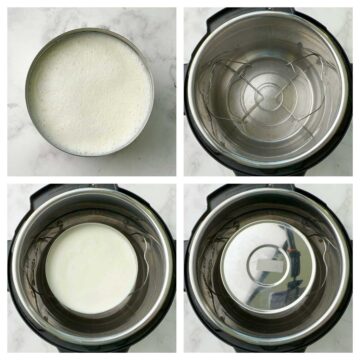
Transfer it to a steel container or glass bowl. You can also use an earthen pot to set the curd since it gives a sweet and earthy flavor.
Keep it in a warm place like an oven or instant pot for 6-10 hours, based on the weather.
Instant Pot Method:
I have used Instant Pot with the yogurt function to ferment the yogurt.
Place the container in the Instant Pot above a trivet and Close the lid on the Instant Pot.
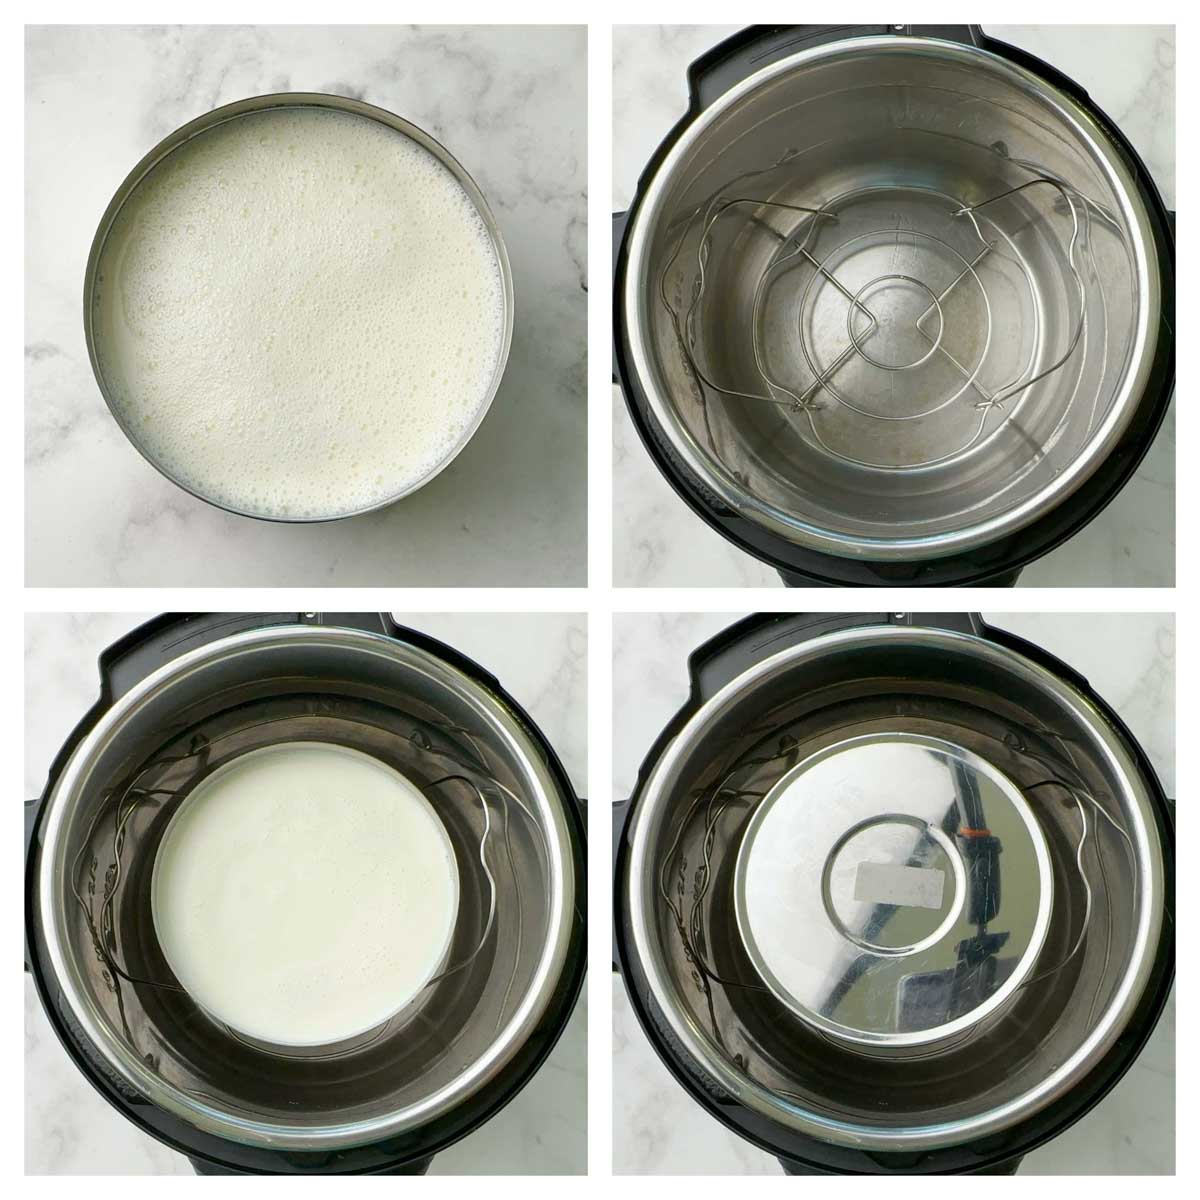
Let the pressure valve be in the VENTING position. Set the pot to YOGURT mode.
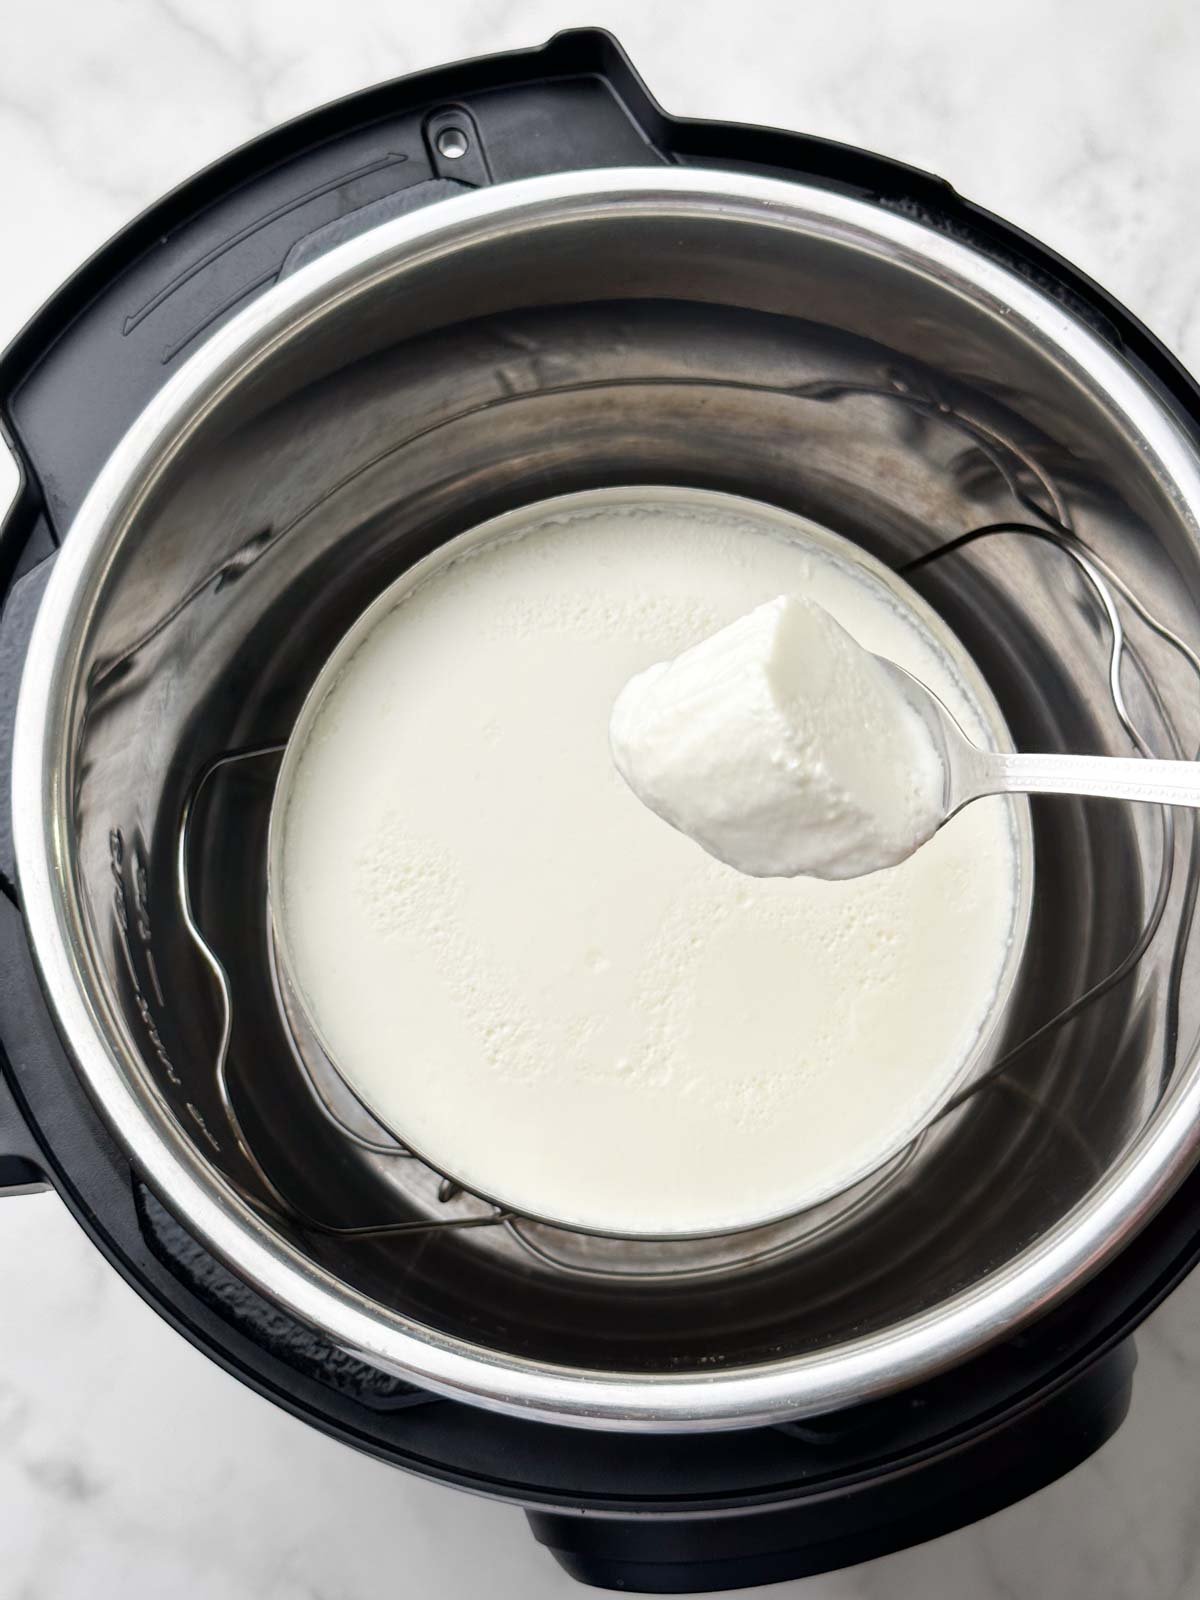
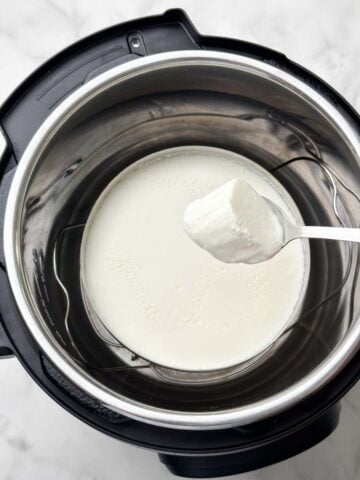
Let the yogurt incubate undisturbed for 6 to 8 hours, depending on your desired tartness and thickness.
Once the yogurt sets, refrigerate the container and allow the curd to chill for a few hours until it sets completely.
Note: Ensure to reserve a small amount of the homemade yogurt to use as a starter culture for your next batch. This practice helps to maintain consistency in subsequent batches of yogurt preparation.
You can now enjoy your homemade yogurt!
Tips To Make Thick Curd at Home
- Full-fat Milk: Use full-fat milk for the best results. The higher fat content helps in achieving richer and creamier curd.
- Boil the milk: Boiling the milk kills any undesirable bacteria and improves the texture of the yogurt.
- Milk Temperature: The milk temperature should be lukewarm (between 35 and 40 degrees Celsius) to set thick curds. Never let it become too warm. It might destroy the culture or starter, cause milk to coagulate, and result in runny, watery curd.
- Ferment for long hours in winter: For the ideal curd consistency in the winter, you must store the curd for extended periods in a warm place to allow it to set.
- Reserve homemade yogurt culture: Remember to reserve a small amount of the homemade yogurt as a starter culture for your next batch.
- Refrigerate the curd before serving: Set a properly thick and creamy curd in the summer, it takes around 5 to 6 hours. Following that, I prefer to put it in the fridge for 30 to 40 minutes before serving.
How To Store Curd
When you store homemade yogurt in an airtight container in the refrigerator, it typically remains fresh for one week.
Serving Suggestions
You can serve yogurt in a variety of ways. From raita to mango lassi, the list is never-ending. You can even use it to make Indian curries like gujarati kadhi, and a variety of other recipes like smoothies, dips, salad dressing, and marinades.
Recipes with Yogurt
Frequently Asked Questions
The sole difference between hung curd and regular curd is that hung curd is produced by entirely draining the whey (water) from regular curd. To create a thick, creamy, textured hung curd, the yogurt is stored in a muslin cloth that is knotted firmly and hung off the wall.
Cow or buffalo milk will produce excellent results when used to make curd.
When we don't boil the milk sufficiently and try to add the starter culture (bacteria) to set the curd, the outcome is sticky, slimy, and gooey curd.
If you cultured your yogurt at the appropriate time and temperature, and it's thick and has no sour taste, your starter has gone mad. Get a new starter and throw away the old one.
The amount of starter required to make homemade yogurt depends on the weather, the starter used, and the quantity of milk. More starters must be added while setting the curd in the winter, but a small quantity of starters is needed for setting the curd in the summer.
Typically, the milk's temperature affects how effectively your curd will set. The curd setting process might be more difficult under extreme cold or heat.
Heating the milk results in a richer finished product and also destroys any undesirable germs in the milk.
My personal favorite is Plain, Gopi Indian Style Whole Milk Yogurt. Plain Greek yogurt or any Indian-style yogurt is great as a starter. Make sure the yogurt starter has actual live cultures in it.
I personally like Clover Organic Whole Milk for making yoghurt at home. You can also use any ultra-pasteurized milk like COSTCO Kirkland Signature Organic Whole Milk, A2 Milk to make yogurt.
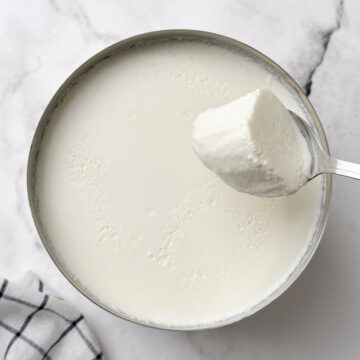
Homemade Yogurt
Equipment
Ingredients
- 4 cups whole milk
- 1 tablespoon yogurt with live culture (any other starter culture)
Instructions
- To begin making dahi, rinse a heavy bottom saucepan. Rinsing the pan keeps the milk from scorching and sticking to the bottom of the pan.
- Pour the milk into the pan and heat it on medium heat until the milk comes to a boil. Note: Boiling the milk helps to kill any bacteria and improves the texture of the curd.
- If you don't like cream on the curd, keep stirring occasionally to reduce the formation of cream on the milk.
- Once the milk comes to a boil, reduce the heat to low and simmer for another 5-8 minutes for a thicker curd.
- Take the pan off the heat and set it aside. Let it cool down until it feels lukewarm. The easiest way to check milk is to dip your finger into it; it should feel cozy, warm, and never hot.
- Add the yogurt with active culture to the lukewarm milk. Whisk or stir well until the culture is blended well with the milk.
- Transfer it to a steel container or glass bowl. You can also use an earthen pot to set the curd since it gives a sweet and earthy flavor.
- Keep it in a warm place like an oven or instant pot for 6-10 hours, based on the weather.I have used Instant Pot with the yogurt function to ferment the curd.
- Place the container in the instant pot above a trivet and Close the lid on the Instant Pot.
- Let the pressure valve be in the VENTING position. Set the pot to YOGURT mode.
- Let the yogurt incubate undisturbed for 6 to 8 hours, depending on your desired tartness and thickness.
- Once the yogurt is set, place the container in the refrigerator and let the curd chill for a few hours to set completely.Note: Ensure to reserve a small amount of the homemade yogurt to use as a starter culture for your next batch. This practice helps to maintain consistency in subsequent batches of yogurt preparation.
- Your homemade yogurt is now ready to be enjoyed!
Notes
Tips To Make The Best Curd
- Full-fat Milk: Use full-fat milk for the best results. The higher fat content helps in achieving richer and creamier curd.
- Boil the milk: Boiling the milk kills any undesirable bacteria and improves the texture of the yogurt.
- Milk Temperature: The milk temperature should be lukewarm (between 35 and 40 degrees Celsius) to set thick curds. Never let it become too warm. It might destroy the culture or starter, cause milk to coagulate, and result in runny, watery curd.
- Ferment for long hours in winter: For the ideal curd consistency in the winter, you must store the curd for extended periods in a warm place to allow it to set.
- Reserve homemade yogurt culture: Remember to reserve a small amount of the homemade yogurt as a starter culture for your next batch.
- Refrigerate the curd before serving: Set a properly thick and creamy curd in the summer, it takes around 5 to 6 hours. Following that, I prefer to put it in the fridge for 30 to 40 minutes before serving.
Nutrition
★ Like this recipe? FOLLOW ME on Facebook, Instagram, Pinterest, and Youtube for more quick & easy recipes.



Leave a Reply