Learn how to make a fresh garlic paste recipe at home with simple steps and keep it fresh for longer in the fridge and freezer with useful tips & tricks. Preparing homemade garlic paste as a meal prep staple can save significant time when cooking on busy days.
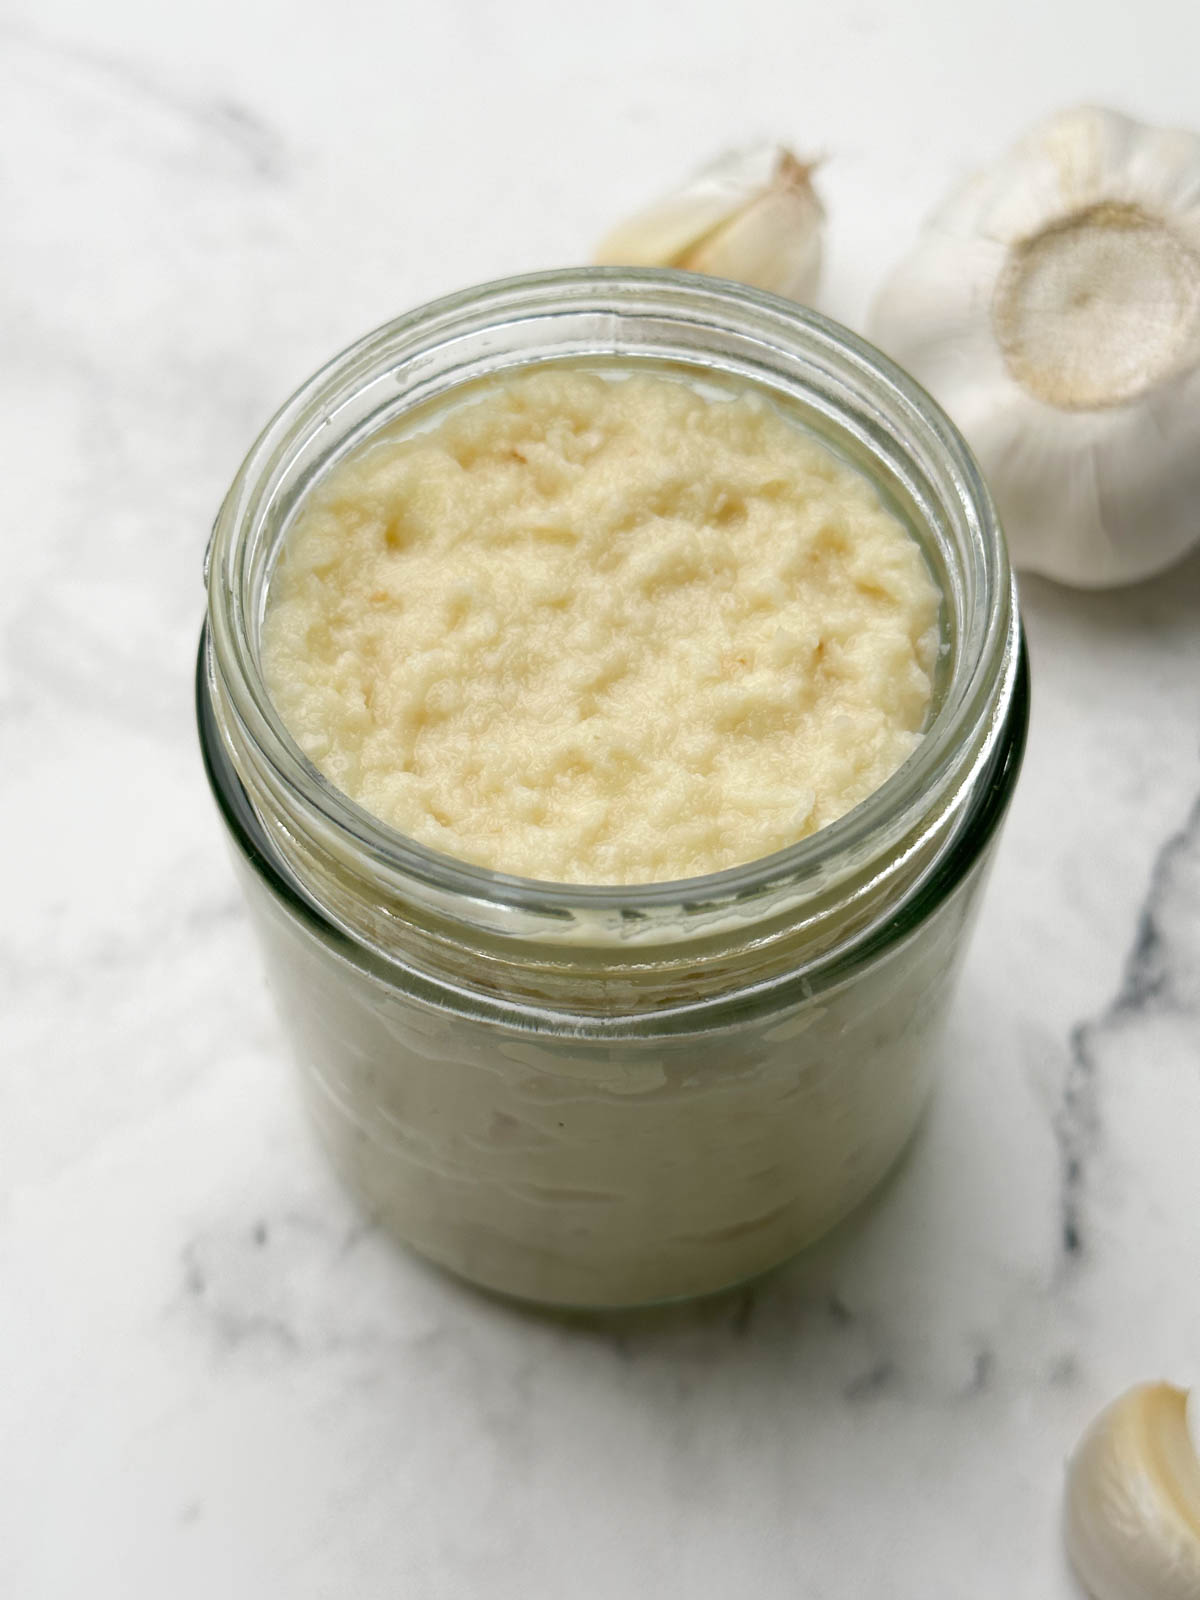
Garlic is the one item that I use most frequently to enhance the flavor of my meals. This wonderful ingredient creates a blast of flavor in only a few minutes. It may be used in a number of dishes. And the best part? Garlic is masterfully adapted in the kitchens and palates of places worldwide, whether it is used as a condiment, in curries, in bread, or even to add tadka.
During busy weekdays, it can be challenging to peel and mince garlic for each meal. Therefore, a useful meal prep tip is to prepare the garlic paste in advance for future use.
Jump to:
Benefits Of Garlic Paste
- It helps with digestion problems, regulating a healthy gut.
- Also, it could boost our immune systems and shield us from the flu and the common cold.
- Due to its high antioxidant content, garlic is known to wash out toxins and aid in blood purification.
Advantages of Homemade Garlic Paste
Everyone is aware that a meal made at home is the greatest sort. It is an undeniable truth that food created from scratch at home tastes significantly better than food bought already prepared at the store. Here are a few advantages of making garlic paste at home. Read on.
- Making homemade garlic paste is Less Expensive than store-bought.
- Incredibly Easy to make.
- Because the garlic used in the paste is of higher quality, it has more flavor and aroma.
- It is sold in smaller quantities in stores. However, you may make paste in bulk at home.
- No Additives or Preservatives
- It stores So Well.
Ingredients for Garlic Paste Recipe
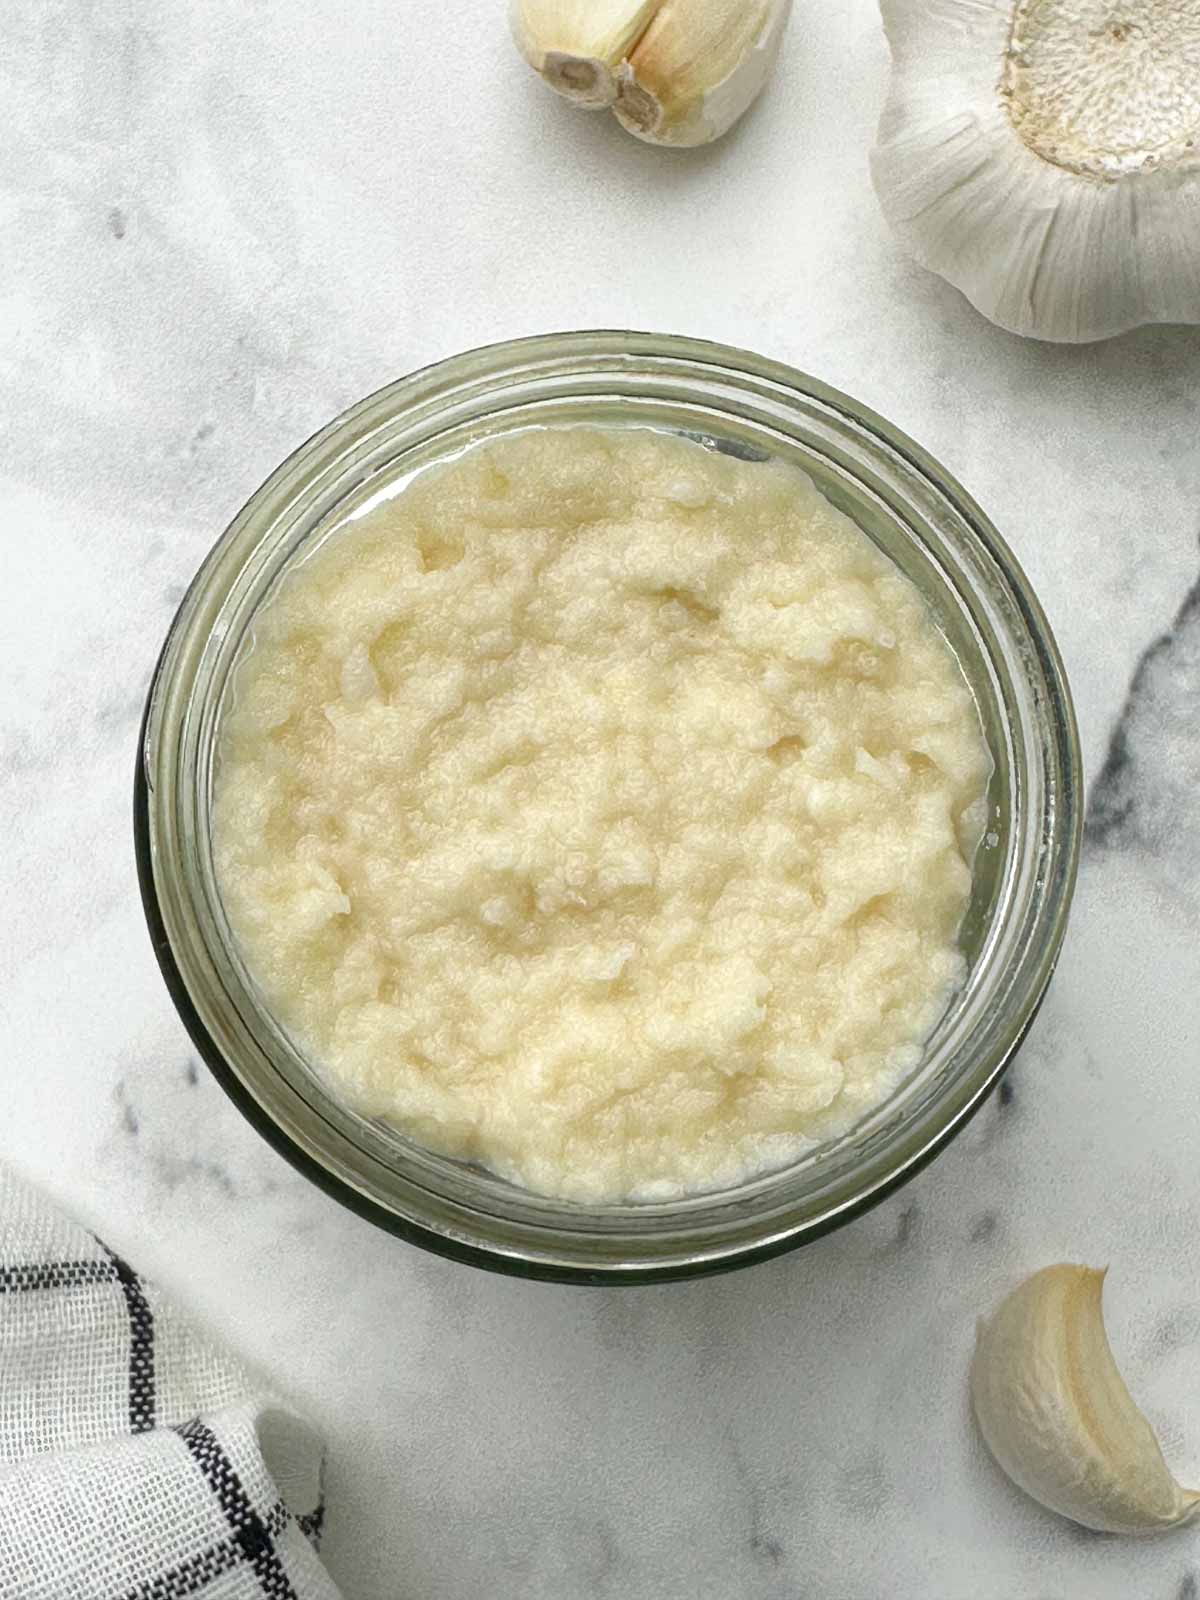
Garlic: I use organic fresh garlic that is available in Costco.
Oil: use any neutral flavor oil like avocado or olive oil. It's optional.
How to Make Garlic Paste?
Separating the Garlic Cloves
There are a few methods to separate garlic cloves from bulbs.
Place the whole garlic bulb on a cutting board with the root side facing up.
- Using the flat side of a chef's knife, press down firmly on the garlic bulb to break the cloves apart.
- Smash it hard with your hand, then loosen and separate the cloves.
Peeling Garlic Cloves
There are a few methods to peel garlic cloves based on your preference or the tools available in your kitchen.
- Using a garlic peeler: Place the clove inside a silicone tube and roll it back and forth by applying pressure using your hands. This will loosen the skin and be easy to remove.
- Using a knife: Take a single clove and trim a small portion of the root end with a knife. Then, place the clove on the cutting board and gently press the clove with the flat side of the chef's knife to loosen the skin.
- Using your mason jar: Separate the cloves from the bulb, place them in the glass or mason jar, and shake vigorously for 15-20 seconds. Then open the jar, and the skin should come off easily.
- Using your hands: Use your other hand to gently pull the skin away from the clove. This method works especially for cloves with thicker skin.
Note: Skip the above steps if using store-bought peeled garlic cloves.
Making Garlic Paste
Add garlic cloves and olive oil (if desired) to the blender or food processor.
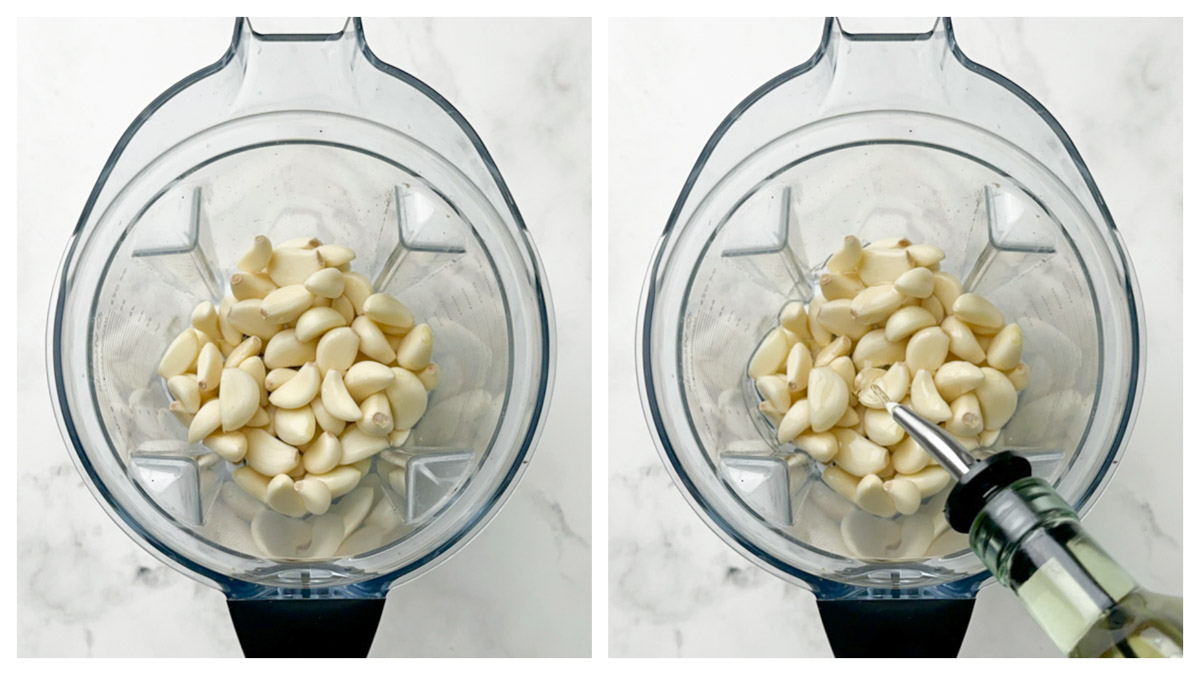
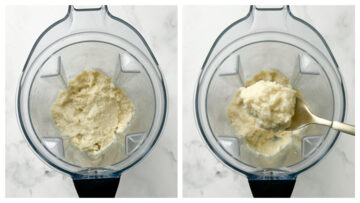
Blend the ingredients to a smooth paste. Make sure to scrape down the sides of the blender at least once in between.
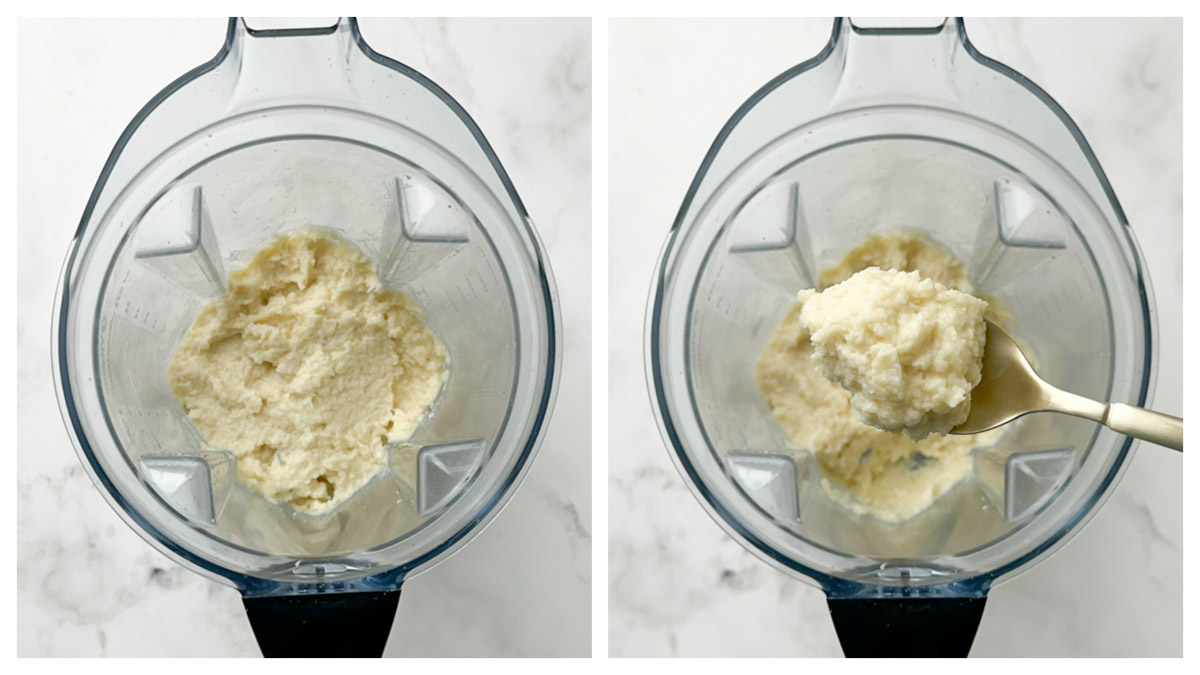
Transfer the paste to a clean, air-tight container and store it in the refrigerator for up to 1 week.
Tips to keep Garlic Paste Fresh for Longer
- Use Fresh Garlic Bulbs: use fresh garlic bulbs to make the paste at home.
- Store in an airtight container: Always store the paste in an airtight container to avoid exposure to air, which can result in oxidation and spoilage. Also, ensure the container is dry before storing the paste.
- Add oil: Adding a small amount of oil to garlic paste stored in a glass jar, creates a barrier that prevents air contact and extends its shelf life.
- Keep refrigerated: To increase the shelf life of the garlic paste, store it in the refrigerator.
- Freeze for longer storage: If you want to freeze the garlic paste for longer, make a large batch of paste, and freeze it in an ice cube tray or ziplock bag for up to 3 months.
- For Maximum Freshness: To retain maximum freshness, make sure to return the ice-cube tray or ziplock bag to the freezer or refrigerator, and do not leave it on the kitchen counter for a longer duration, as it can spoil the paste soon.
How to use Garlic Paste in a Recipe?
When using garlic paste in a recipe, remember that 1 teaspoon of garlic paste = 1 large or 2 small garlic cloves. Also, no need to thaw frozen garlic paste cubes; you can simply add them directly for sauteing while cooking.
Here are some recipes that use garlic.
How To Store Garlic Paste?
The garlic paste can be stored in the refrigerator or freezer.
Fridge: Simply pour the blended mixture into an airtight container and use it within a week. To keep the paste fresh for longer, top it with a thin layer of oil.
Freezer: The other method involves freezing the garlic paste in an ice tray or ziplock bags. This will ensure that the paste lasts longer without going bad.
Put a little garlic paste in a silicone ice cube tray and freeze for approximately 2 hours or until hard.
Then transfer the frozen cubes to a freezer-safe ziplock storage bag, label the date, seal it tightly before freezing, and freeze for up to 3 months.
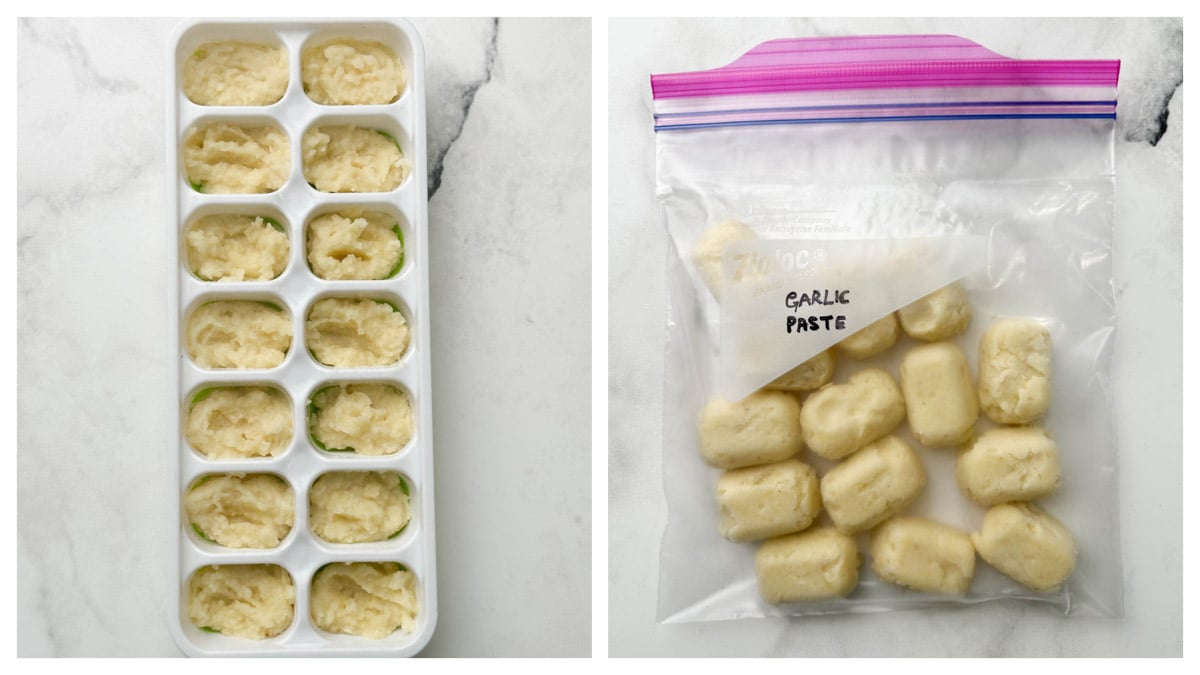
If you don't have an ice cube tray, you can transfer some garlic paste to a zip-lock freezer storage bag and flatten it using your hand, ensuring all the air is removed.
Label the date, and seal it before storing it flat in the freezer. When needed, break off the required amount and return the rest to the freezer by resealing the bag.
Frequently Asked Questions
It's a great idea to use garlic paste in your cuisine to give it a rich garlic flavor. From sauces, marinades, and dressings et al., this paste can be used in anything and everything. You just name it, and this paste can do it! A life-saving trick, indeed. If you haven't tried it yet, do so.
Garlic paste and minced garlic are two different things. Despite the differences between the two, you may still utilize either one as needed. While garlic paste is often produced in a blender or food processor, minced garlic is typically garlic that has been chopped by hand.
However, these two are in different forms. But you can surely use garlic powder in place of garlic paste. ¼ Teaspoon of garlic powder is enough to replace 1 Teaspoon of Garlic Paste. If you want a strong and pungent aroma, you can add more.
The answer is yes! A mortar and pestle or a large chopping knife (chef's knife) will do. Just grasp the flat side of the knife in both hands and run the sharp side over the garlic, holding the blade at a small angle to press and flatten the garlic, and you have mashed garlic. Continue chopping the garlic; in a few minutes, you'll have a thick, flavorful garlic paste.
One garlic bulb is made up of several separate lobes that are each wrapped in a papery, whitish covering. Each of these lobes is described as a "clove of garlic".
More Cooking 101 Recipes
- How to Make Ghee
- How to Make Ginger Paste
- How to Store Garlic
- How to Store Cilantro
- How to Sprout Beans
- How to Store Curry Leaves
- How to Store Cilantro
- How to Make Curd
If you’ve tried this how-to-make garlic paste recipe or any other recipe on Indianveggiedelight, then don’t forget to rate the recipe. You can also follow me on Instagram and Facebook to see the latest recipes!
How to Make Garlic Paste?
Equipment
- Mortar and pestle or food processor
Ingredients
- 1 pound garlic cloves
- 2-3 tablespoons olive oil
Instructions
Separating the Garlic Cloves
- There are a few methods to separate garlic cloves from bulbs.Place the whole garlic bulb on a cutting board with the root side facing up.Using the flat side of a chef's knife, press down firmly on the garlic bulb to break the cloves apart.Smash it hard with your hand, then loosen and separate the cloves.
Peeling Garlic Cloves
- There are a few methods to peel garlic cloves based on your preference or the tools available in your kitchen.Using a garlic peeler: Place the clove inside a silicone tube and roll it back and forth by applying pressure using your hands. This will loosen the skin and be easy to remove.Using a knife: Take a single clove and trim a small portion of the root end with a knife. Then, place the clove on the cutting board and gently press the clove with the flat side of the chef's knife to loosen the skin.Using your mason jar: Separate the cloves from the bulb, place them in the glass or mason jar, and shake vigorously for 15-20 seconds. Then open the jar, and the skin should come off easily.Using your hands: Use your other hand to gently pull the skin away from the clove. This method works especially for cloves with thicker skin.Note: Skip the above steps if using store-bought peeled garlic cloves.
Making Garlic Paste
- Add garlic cloves and olive oil (if desired) to the blender or food processor.
- Blend the ingredients to a smooth paste. Make sure to scrape down the sides of the blender at least once in between.
- Transfer the garlic paste to a clean air-tight container and store it in the refrigerator for up to 1 week.
Notes
Tips to keep Garlic Paste Fresh for Longer
- Use Fresh Garlic Bulbs: use fresh garlic bulbs to make the paste at home.
- Store in an airtight container: Always store the garlic paste in an airtight container to avoid exposure to air, which can result in oxidation and spoilage. Also, ensure the container is dry before storing the paste.
- Add oil: Adding a small amount of oil to garlic paste stored in a glass jar, creates a barrier that prevents air contact and extends its shelf life.
- Keep refrigerated: To increase the shelf life of the garlic paste, store it in the refrigerator.
- Freeze for longer storage: If you want to freeze the garlic paste for longer, make a large batch of paste, and freeze it in an ice cube tray or ziplock bag for up to 3 months.
- For Maximum Freshness: To retain maximum freshness, make sure to return the ice-cube tray or ziplock bag to the freezer or refrigerator, and do not leave it on the kitchen counter for a longer duration, as it can spoil the paste soon.

Leave a Reply