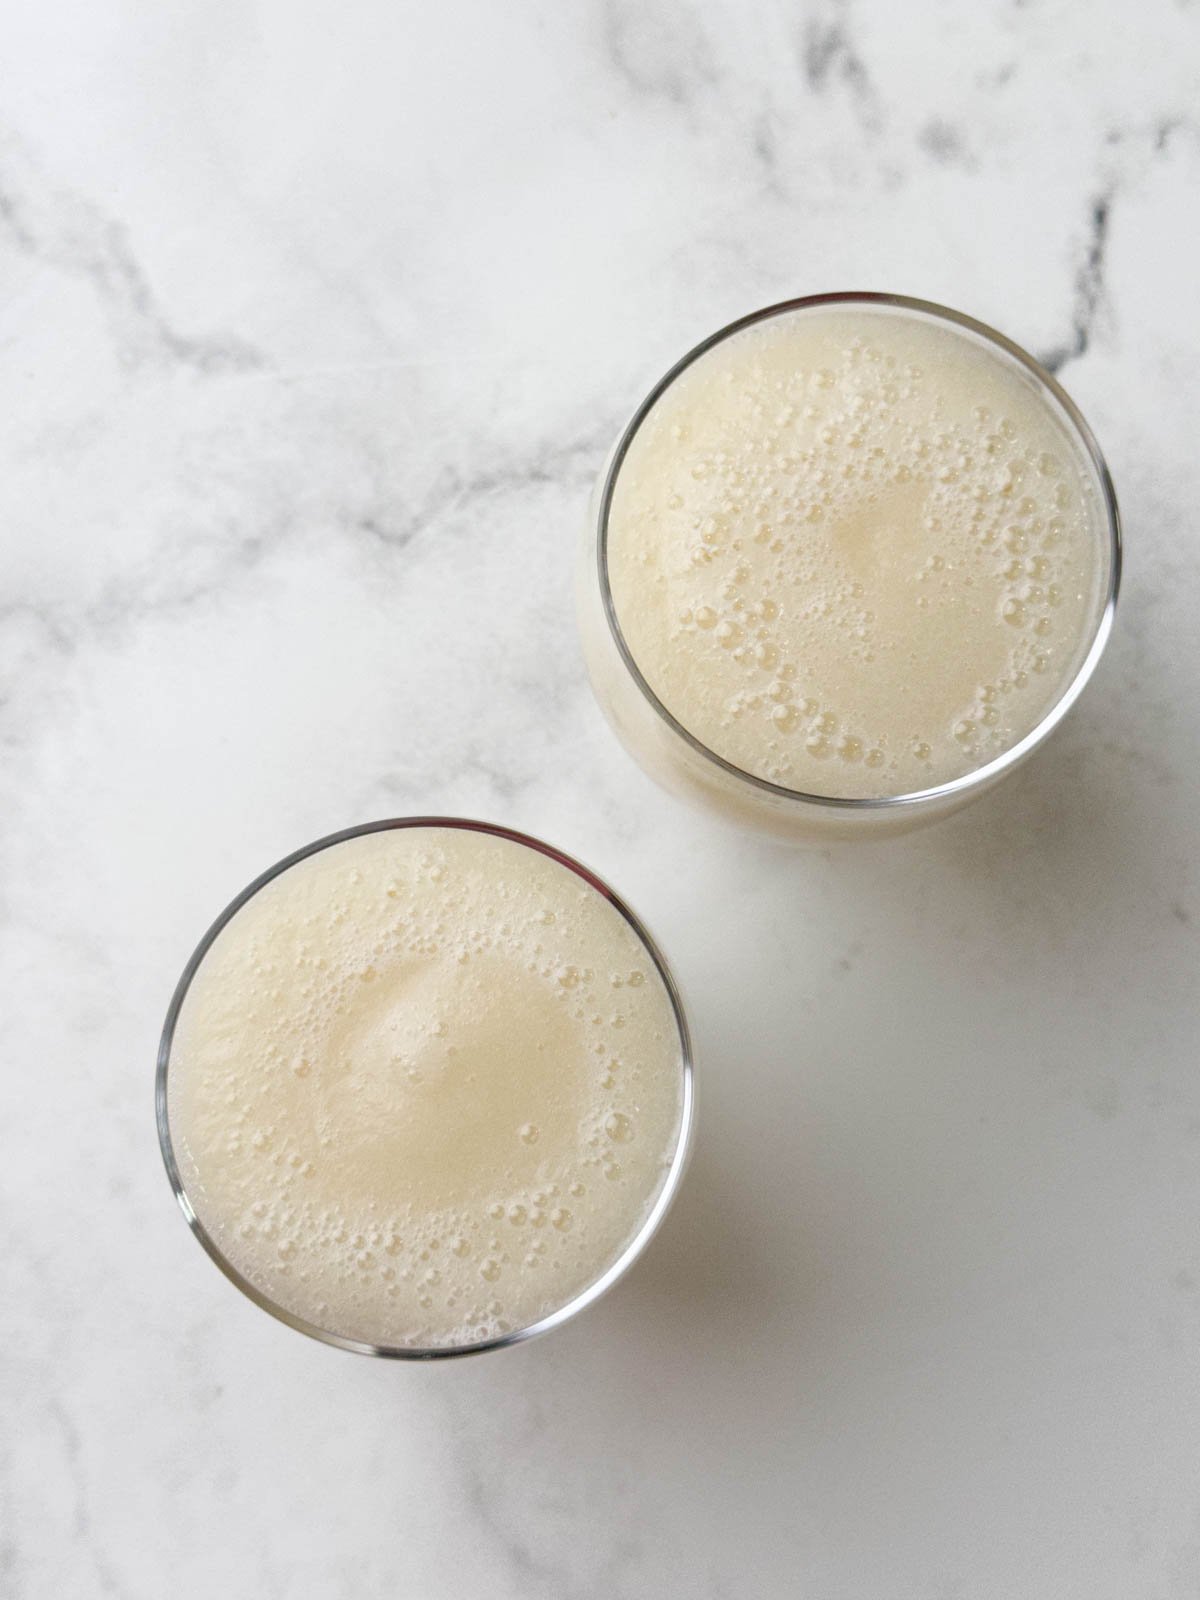
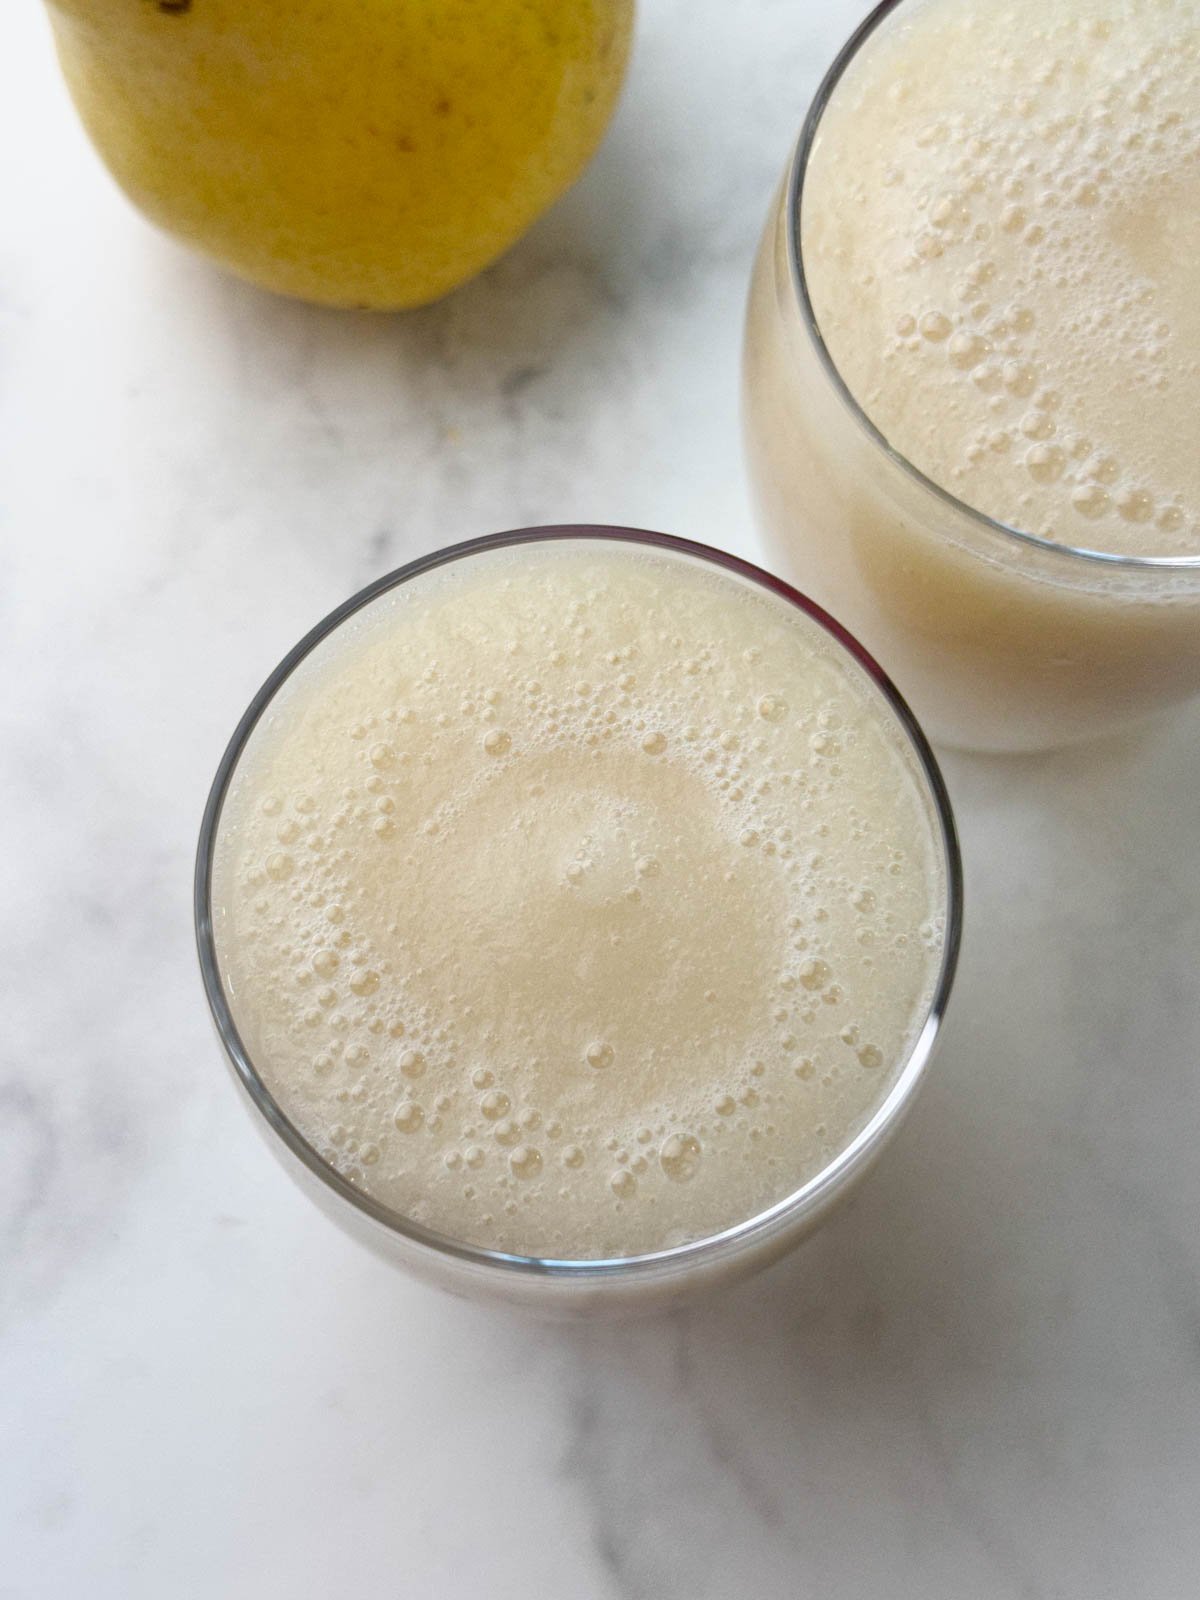
This homemade pear juice recipe is naturally sweet and mild in flavor, made from fresh ripe pears. It can be easily made in a blender or juicer.
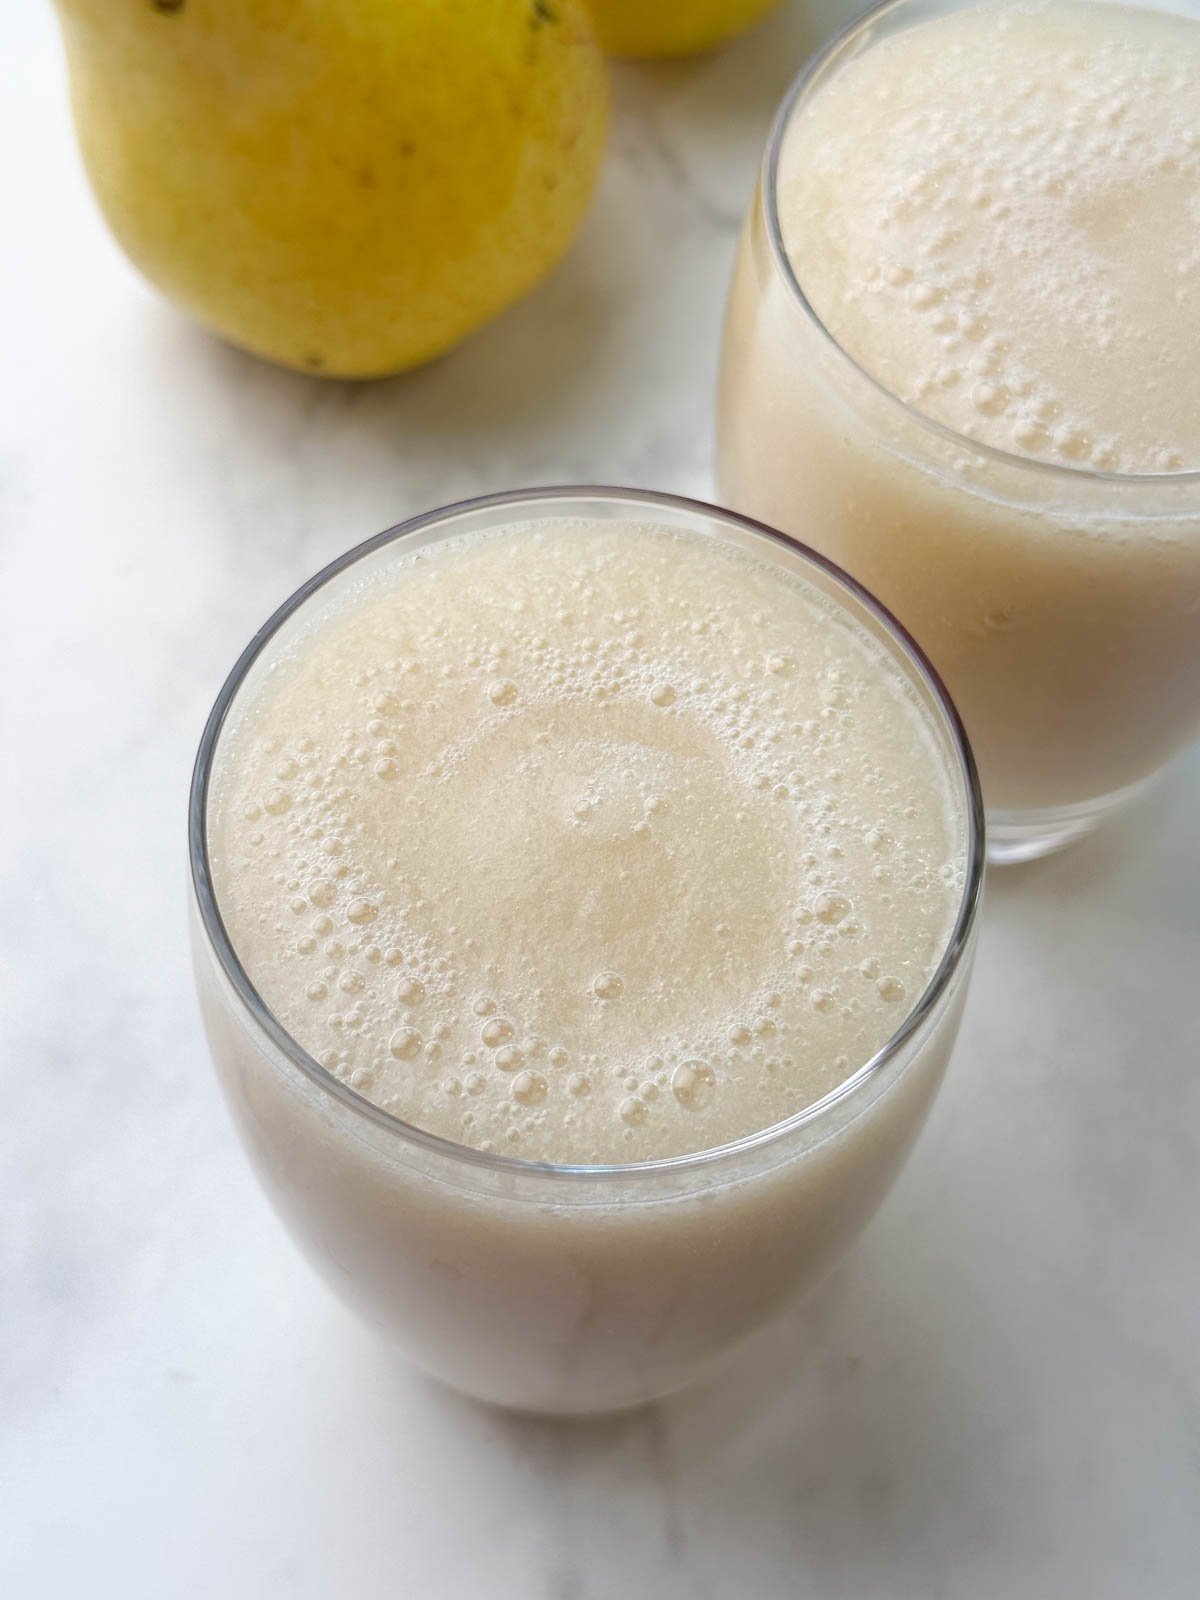
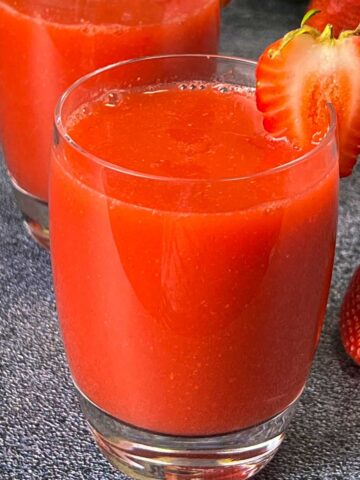
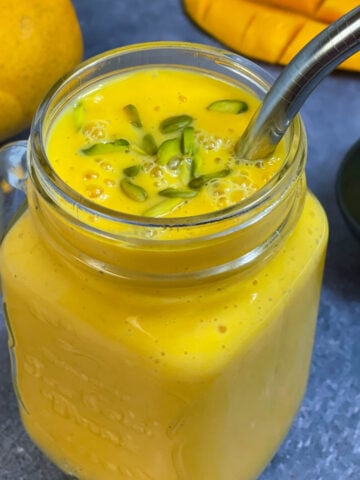
You can make juices out of a wide range of fruits. For instance, banana juice, cantaloupe juice, mango juice, kiwi juice, and more. To add flavor, You can also use fresh herbs like mint. For a flavorful kick, consider adding red chili powder, black salt, and cumin powder, or just chaat masala.
Here, we bring you yet another delicious fresh pear juice recipe. The nutritious value of the juicy, flavorful pear makes it a beloved fruit. It is a low-calorie fruit, making it ideal for a diet that aims to lose weight.
Jump to:
Ingredients
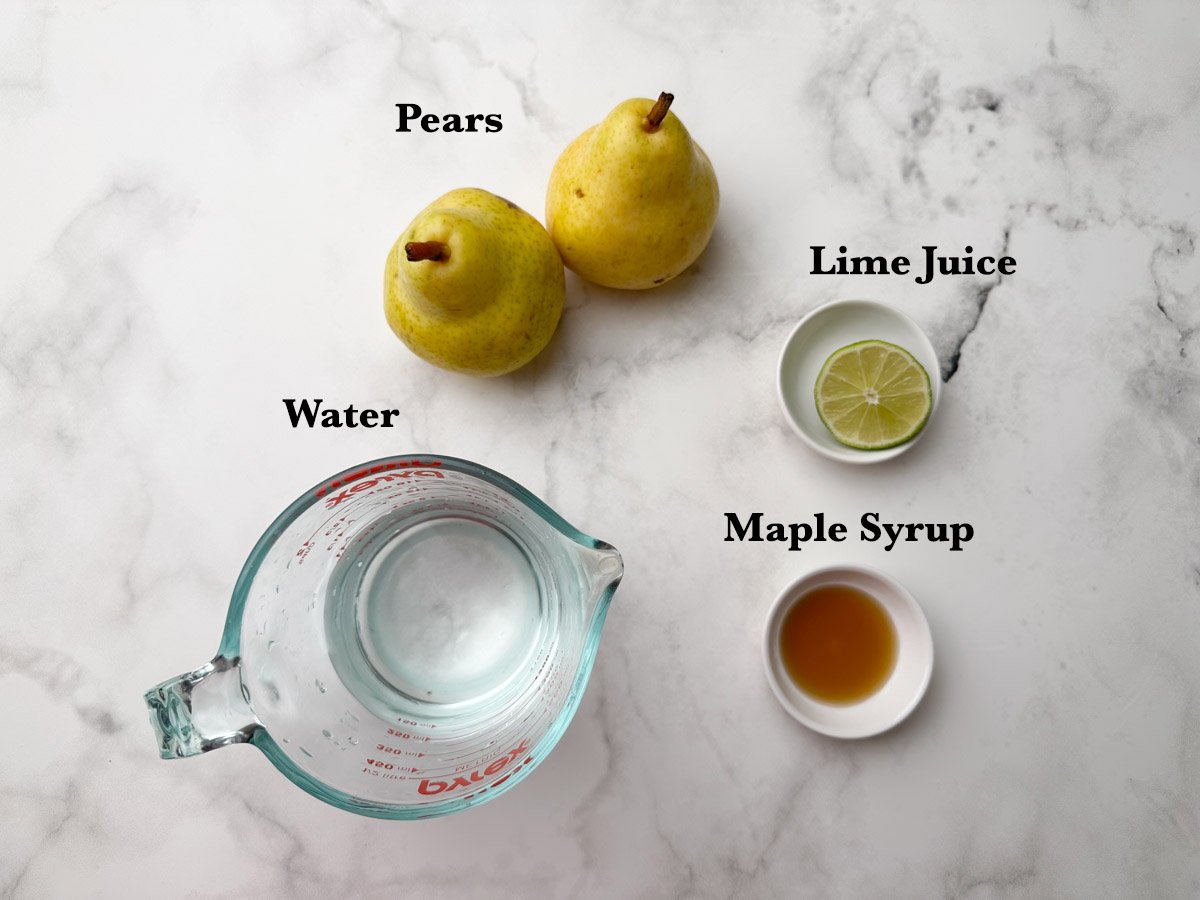
- Pears: Use fresh, ripened pears for the best flavorful juice.
- Lime juice (or lemon juice): A slight tang from the lime (or lemon) juice will elevate the sweetness of the fruit. It also prevents the juice from browning due to oxidation.
- Sweetener (Optional): If pears are not sweet enough, then you can add your choice of sweetener, e.g., sugar, maple syrup, honey, agave, etc. I used maple syrup in this recipe.
- Water: Water is added to get the juice consistency. Otherwise, the juice may turn thick.
How To Make Homemade Pear Juice
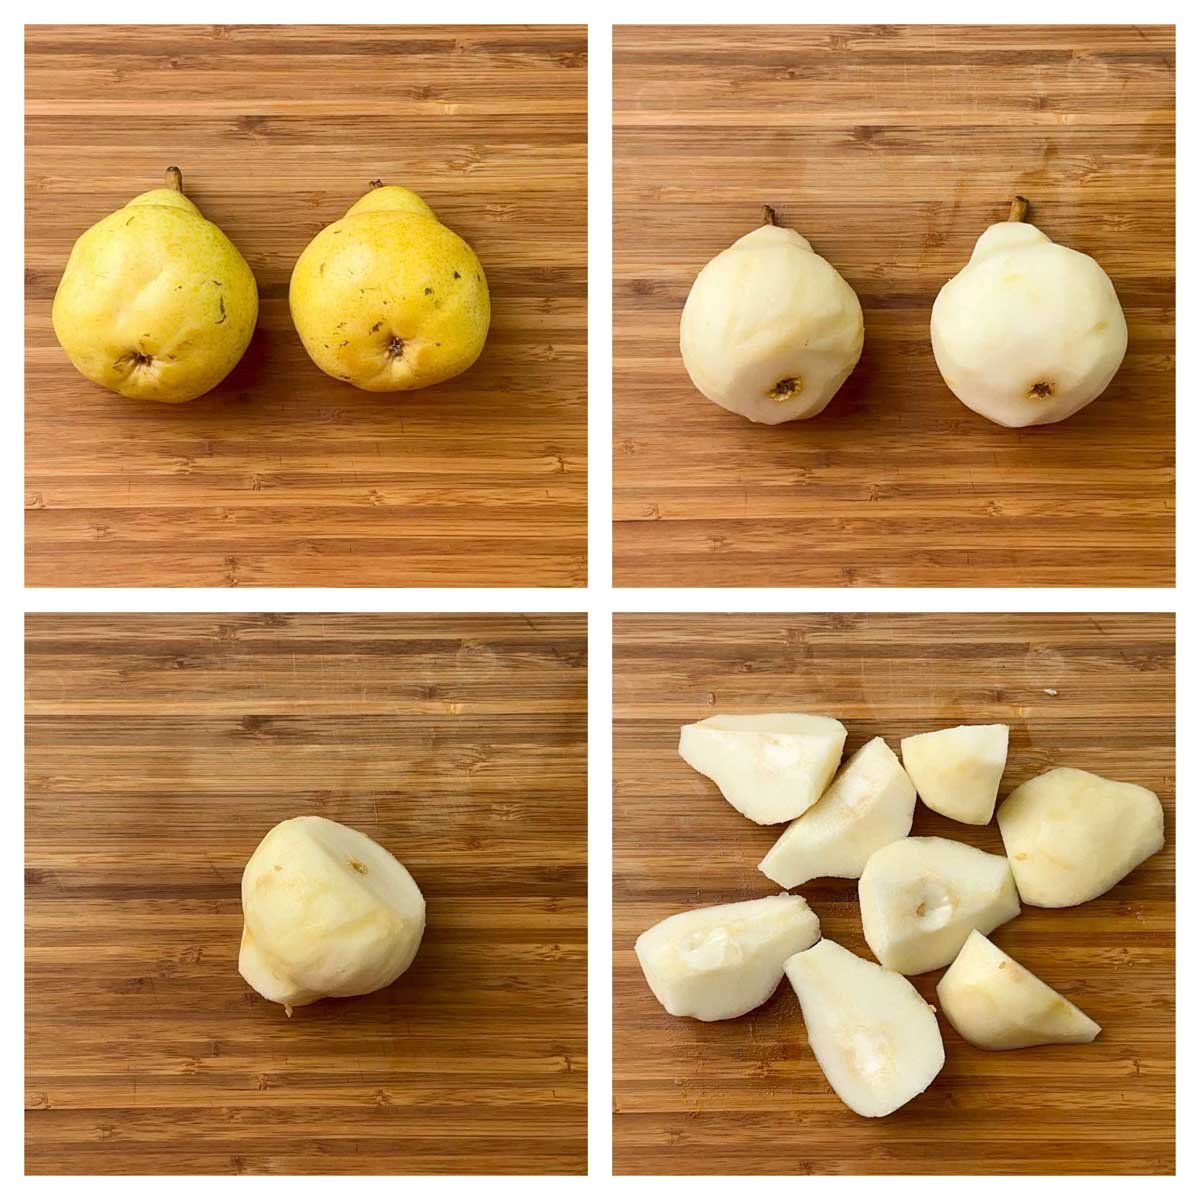
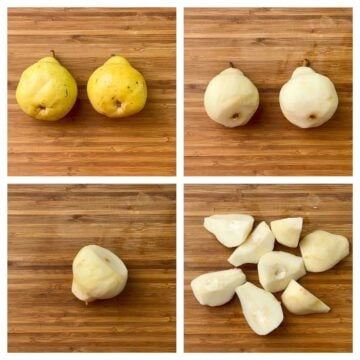
Wash 2 medium pears under running tap water and dry them.
Once done, peel the pears, chop the crown and bottom, and cut them into quarters. Remove the cores and seeds from the pears.
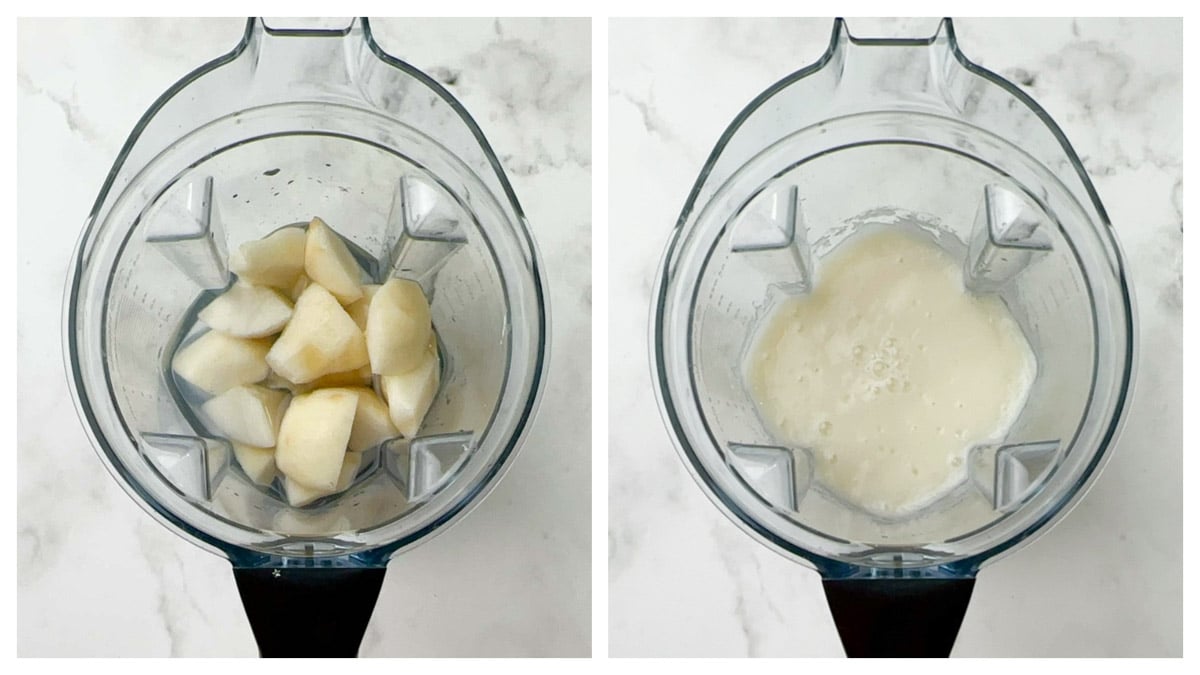
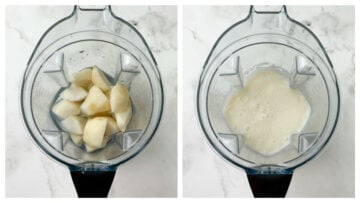
Add all the pear pieces (about 2 cups) into a high-speed blender like Vitamix, followed by 1 cup of water, 1 tablespoon lime juice, and 1 tablespoon maple syrup. Blend until you get a smooth and creamy consistency. If you think the juice is too thick, add some more water.
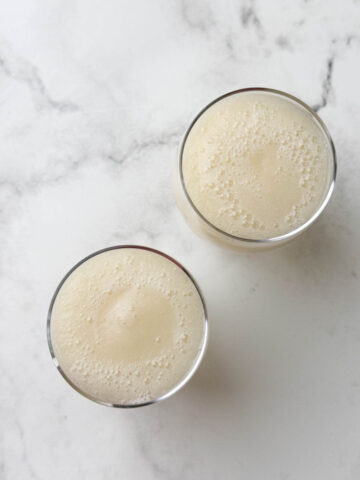
Pour into a glass and enjoy immediately!
Note: If you prefer a smoother juice without pulp, then you can strain it using a fine-mesh strainer or cheesecloth.
Serving Suggestions
You can enjoy green pear juice on its own or make it part of your breakfast.
Storage Suggestions
You can store this homemade pear juice for 1-2 days in an airtight container in the refrigerator. However, we advise you to drink it as soon as it is prepared. Fresh juice is always better than the stored one.
Tips & Notes
- Scale: If you are making the juice for more than two people, feel free to double or triple the ingredients.
- Choose Ripe Pears: Always choose ripe pears for making this juice. Ripe pears will make the juice sweeter.
- Prevent Browning: Add lime/lemon juice to the pear juice while blending to prevent it from browning due to oxidation.
- Sweetener: If you do not have maple syrup at home, you can use jaggery powder, honey, or even brown sugar. Adjust the sweetener based on your preference.
Frequently Asked Questions
Yes, It is rich in nutrients like vitamins, fiber, and antioxidants and provides hydration, so it is good for our overall health.
No, this pear juice is different from prickly pear. Pear juice is made from regular pears, whereas prickly pear juice is made from the fruit of the prickly pear cactus.
More Beverage Recipes
Homemade Pear Juice
Equipment
Ingredients
- 2 medium pears, ripened (about 2 cups)
- 1 cup water
- ½ lime optional
- 1-2 tablespoons maple syrup
Instructions
- Wash all the pears under running tap water and dry them.
- Once done, peel the pears, chop the crown and bottom and cut them into quarters. Remove the cores and seeds from the pears.
- Add all the pear pieces into a blender, followed by water, lemon juice, and maple syrup. Blend until you get a smooth and creamy consistency. If you think the juice is too thick, add some more water.
- Pour into a glass and enjoy immediately!Note: If you prefer a smoother juice without pulp, then you can strain it using a fine-mesh strainer or cheesecloth.
Nutrition
★ Like this recipe? FOLLOW ME on Facebook, Instagram, Pinterest, and Youtube for more quick & easy recipes.



Leave a Reply